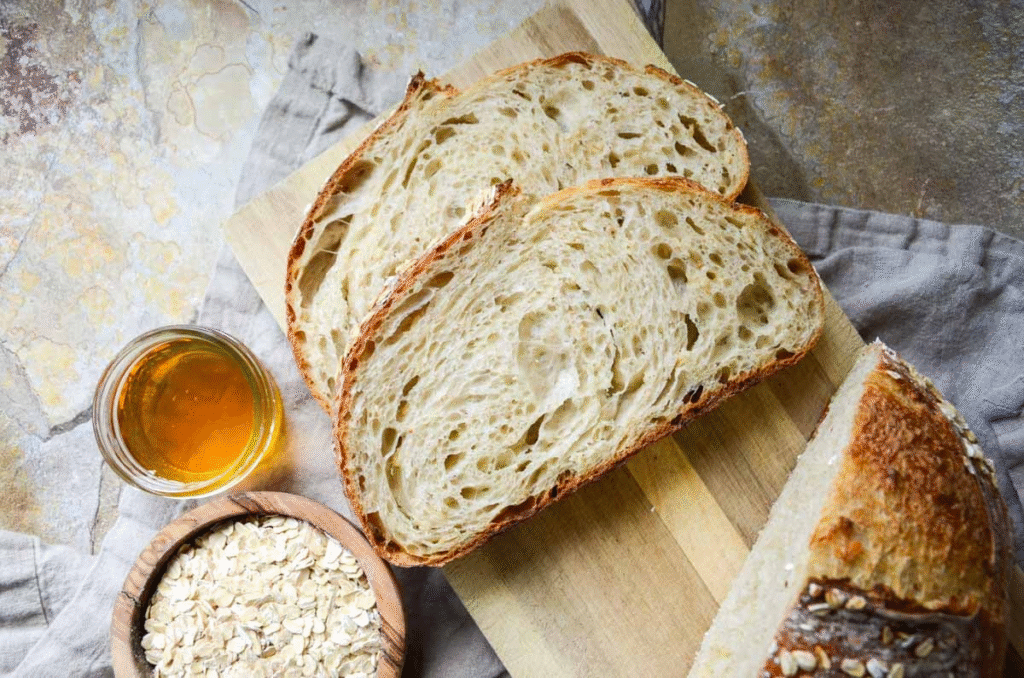
Honey Oat Sourdough Bread: Homemade Bread Recipe
In this piece, we’ll guide you through the steps to craft Honey Oat Sourdough Bread recipe, an easy homemade bread recipe that’s an excellent choice for those who want to elevate their bread game. Not only is this recipe simple, but it also infuses your kitchen with the health benefits of oats and the natural sweetness of honey. By the end, you’ll have a delightful loaf that combines flavor and nutrition, perfect for sharing or indulging yourself.
Ingredients & Substitutions
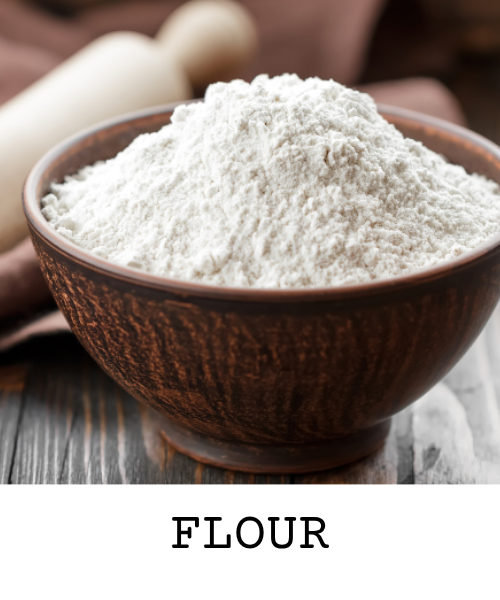


- Bread Flour – Bread flour is best when it comes to making sourdough bread. The higher protein percentage in this flour gives the dough strength so that it can rise to great heights and give you the best results. You can use all purpose flour if you want too. I haven’t tested this recipe with whole-wheat flour, but I’d suggest using 50% whole wheat flour and 50% bread flour for a nuttier flavor without making the loaf too dense.
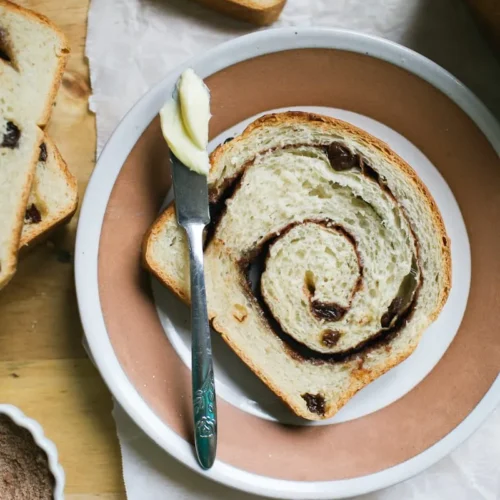
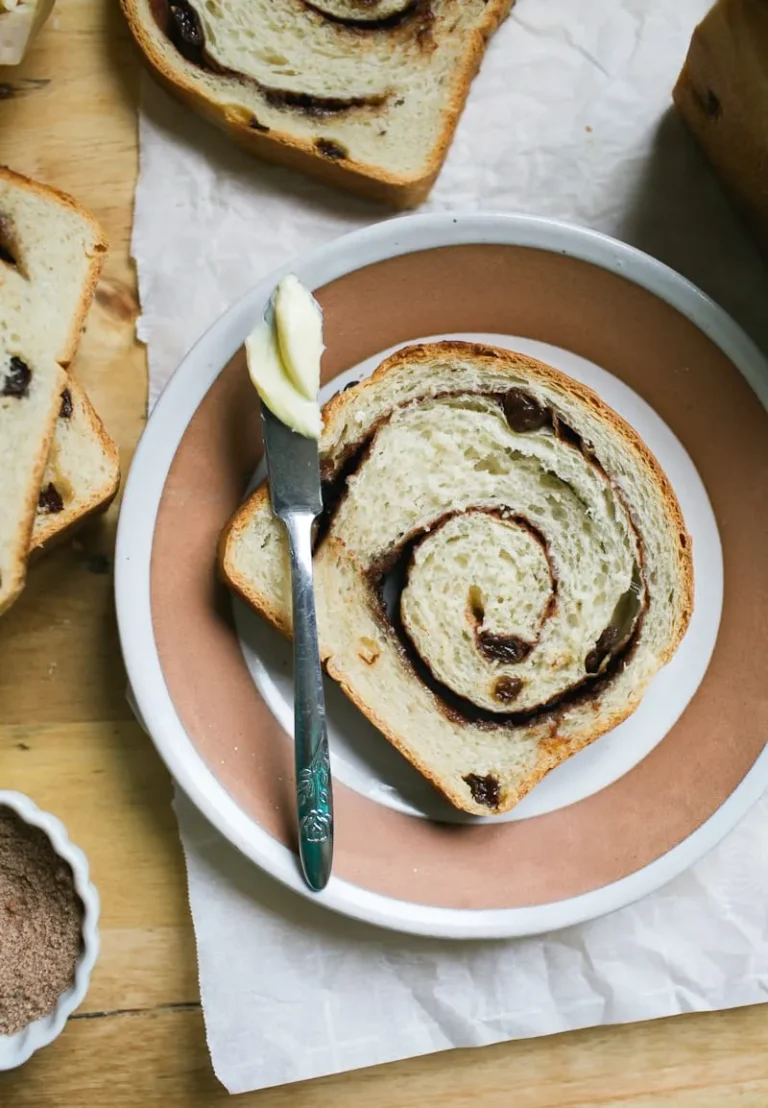
- Honey – Using honey in this recipe not only slightly sweetens your sourdough bread, but it also makes your crumb extra chewy. Because honey is a sugar, your fermentation may happen faster than usual. It will also give your loaf a more dark brown exterior after baking. You can use any type of honey-store-bought, local, wildflower, clove, or raw. That said, I’ve found that darker honeys like local, wildflower, and raw add more depth of flavor.
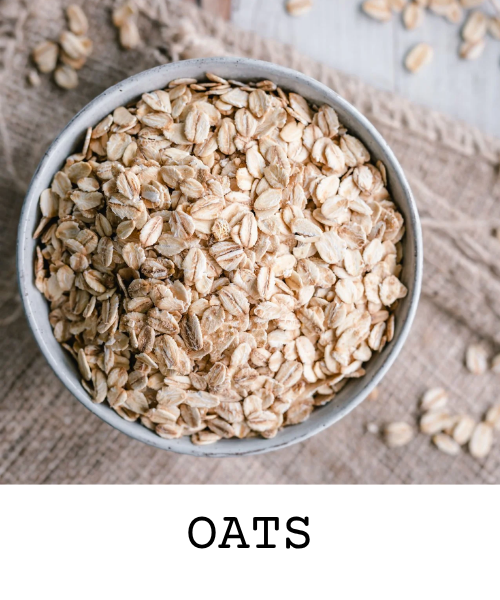
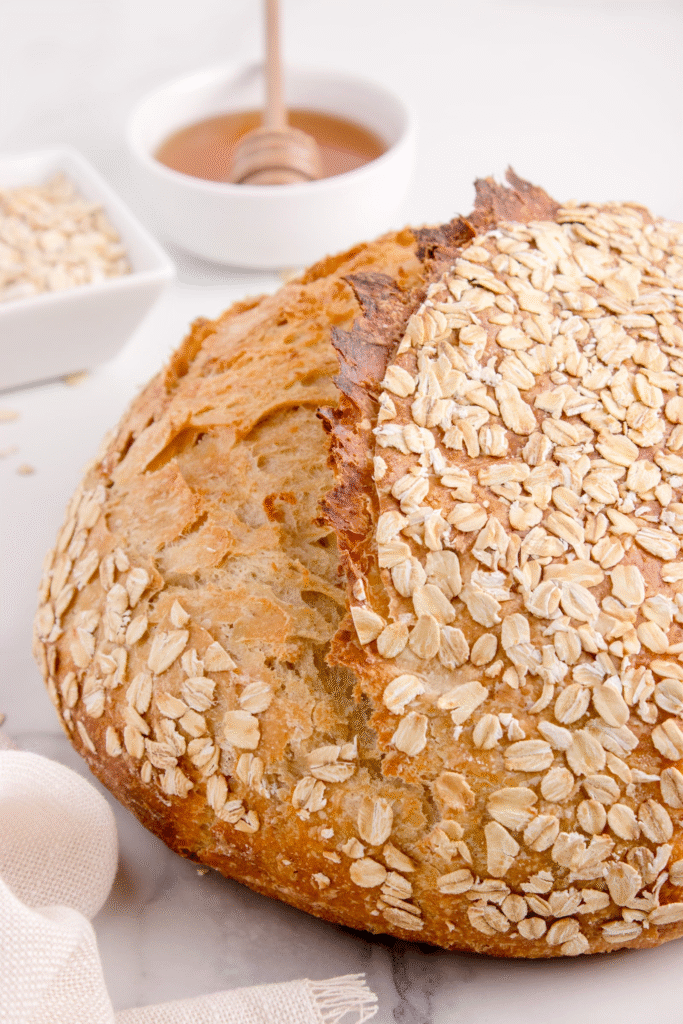
- Oats – Rolled oats (not quick oats) are best for this bread because they keep their shape and texture during baking. They add a chewy bite, nutty flavor, and a pretty topping that doesn’t disappear into the dough. I don’t recommend instant oats because they break down much more quickly. They’ll dissolve into the bread, making it denser and less textured, and won’t give the same hearty oat topping.
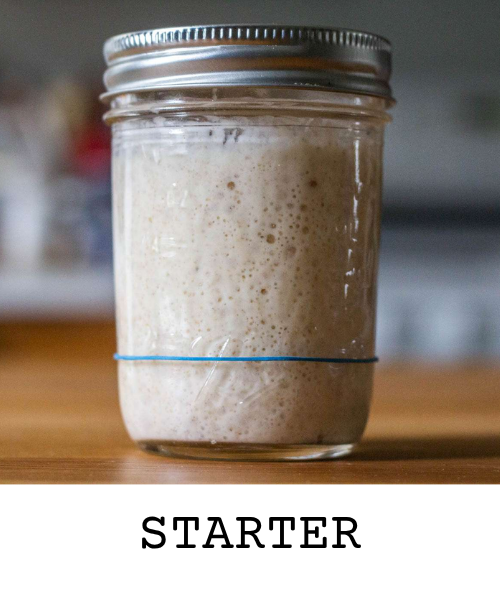
- Starter: This bread works best with an active sourdough starter, which I recommend for a strong first and second rise and full flavor. If you want great dough rise and a softer loaf, it’s best to use an active starter.
Baking Time For Honey Oat Sourdough Bread
| DAY 1 | |
| Time | Process |
| 9:30 AM | Mix the dough |
| 10:00 – 11:30 AM | Perform stretch and folds |
| 11:30 – 6:30 AM | Continue Bulk fermentation |
| 6:30 PM | Preshape |
| 7:00 PM | Shape and cold proof |
| DAY 2 | |
| 9:30 AM | Bake |
How to Make Honey Oat Sourdough Bread: Easy Homemade Bread Recipe
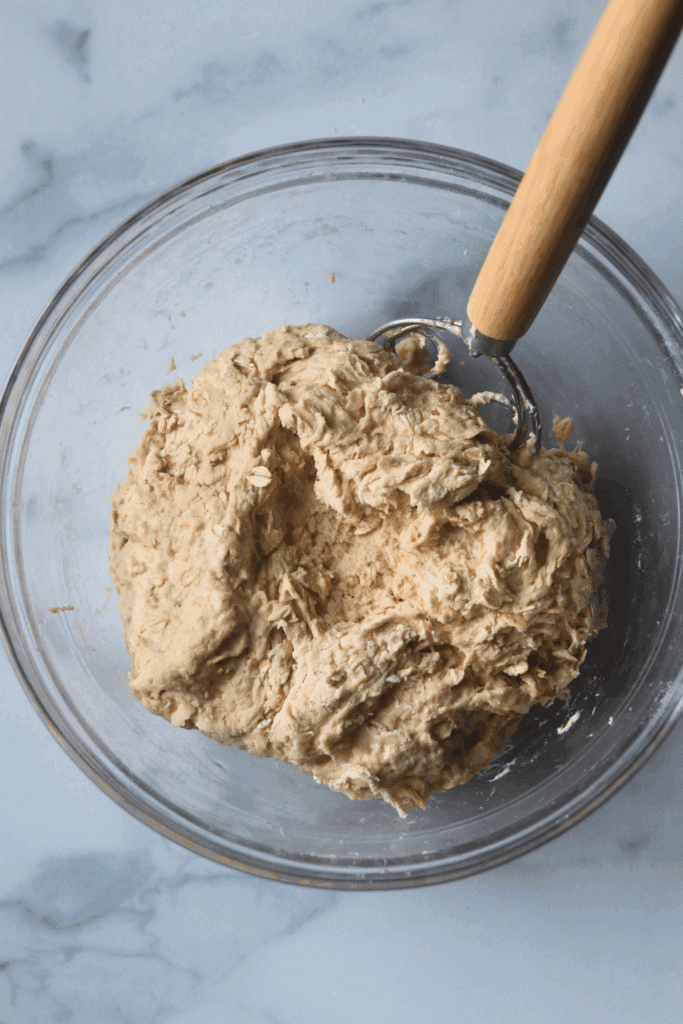
- Mix the dough ingredients in a large bowl, cover, and let rest for at least 30 minutes. I use a Danish dough whisk, but you can mix in the bowl of a stand mixer.
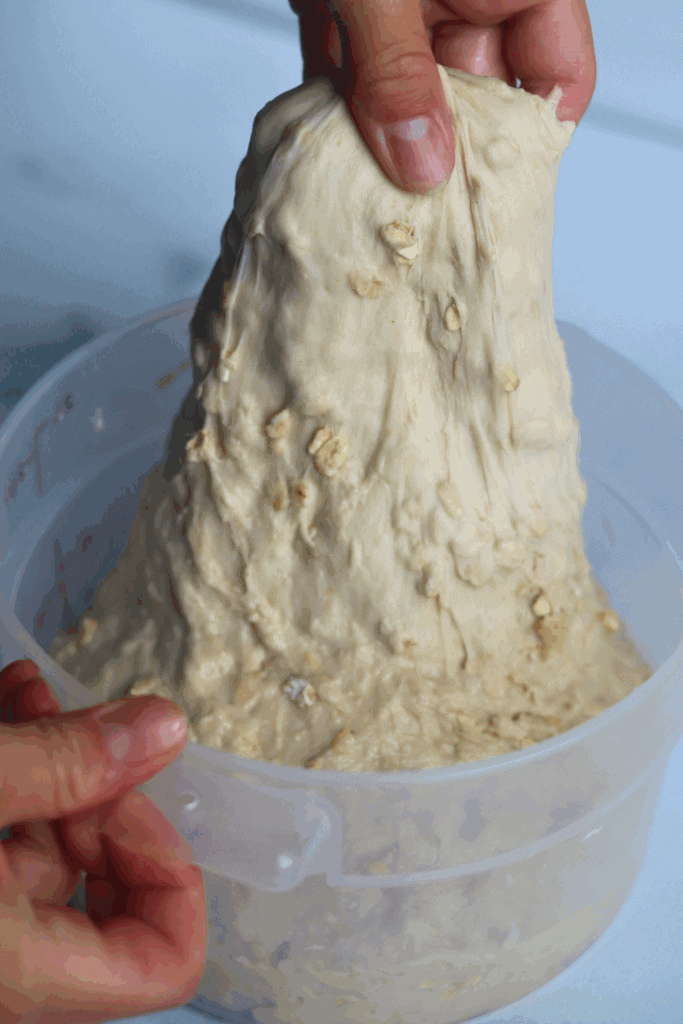
2. Do 4 sets of stretch and folds, resting 30 minutes between each round. Keep the dough covered while it rests. To stretch and fold, lift a section of the dough up and fold it over itself, toward the center. Keep going around the bowl until you’ve gone all the way around. (See the recipe card below for more detailed instructions).
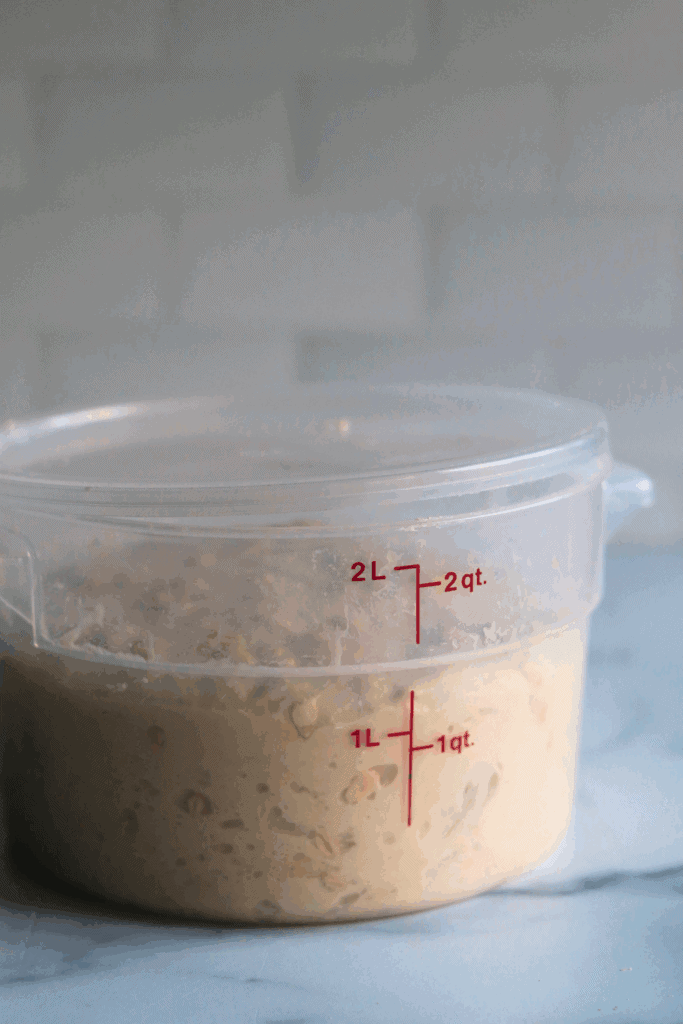

3. Let the dough finish the first rise (bulk fermentation).
4. Once risen, preshape the dough, cover, and let rest for 30 minutes.
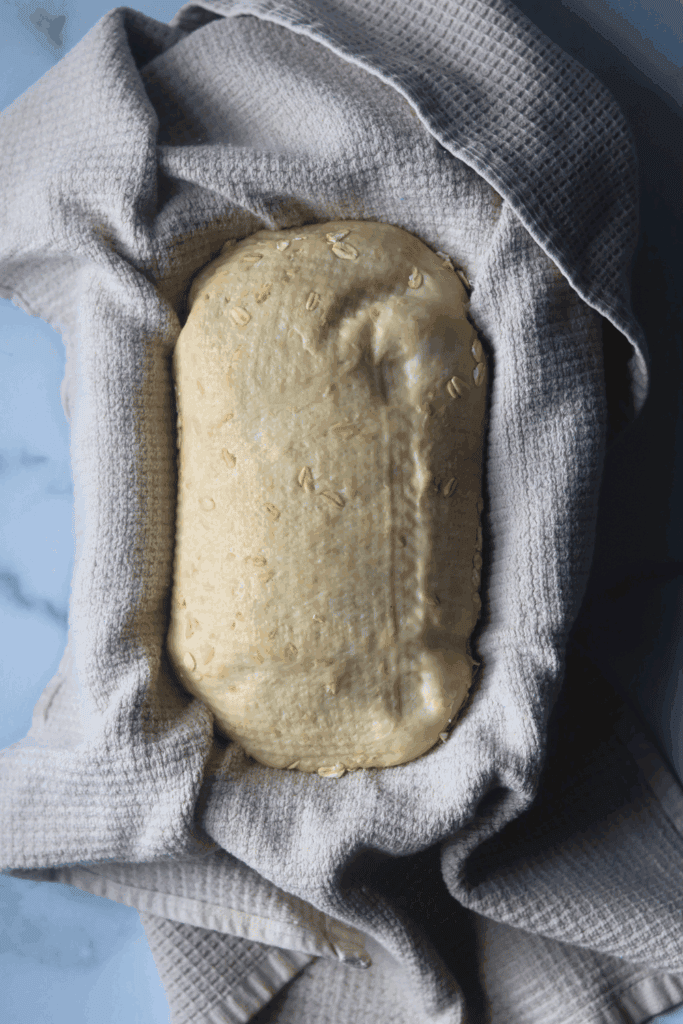
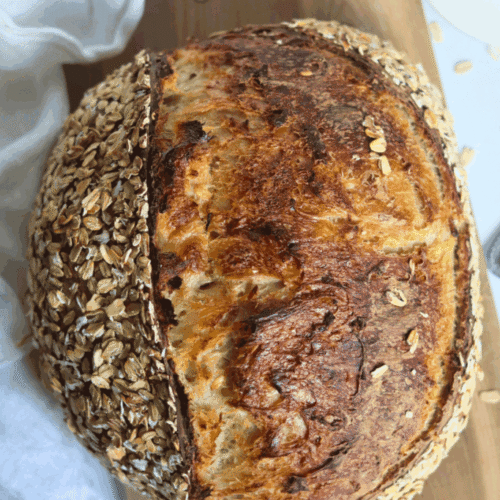
5. Shape the dough into a boule or batard. Lightly dampen the top of the dough with water, then roll it in oats. Place the rolled oat side down in a prepared banneton. Cover and coldproof the dough for at least 8 hours.
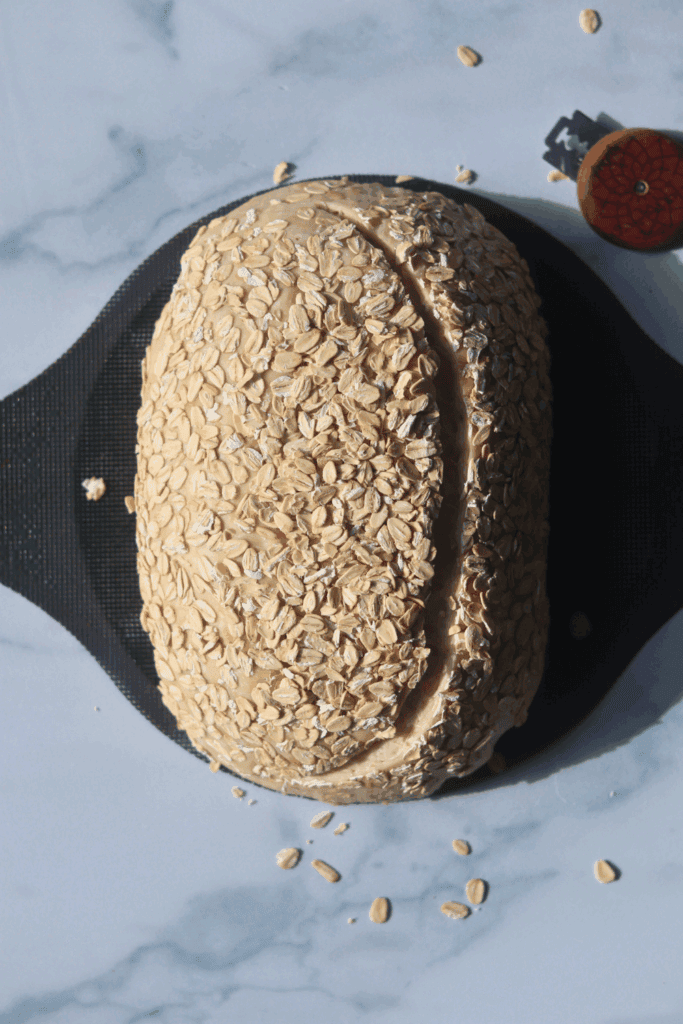
6. The following day, place the dough on a piece of parchment paper, score, and bake.
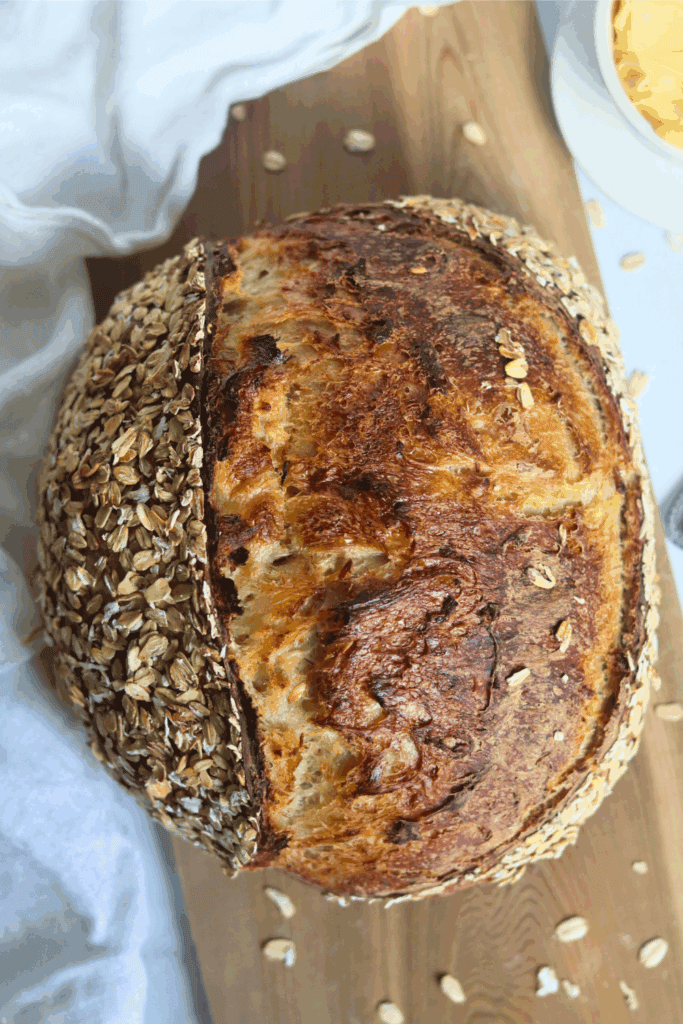
7. Allow the loaf to cool to room temperature before slicing. Enjoy!
How to Store:
Let the beautiful loaf of Sourdough Honey Oat Bread cool completely before diving into the joy of storage. The ideal way to maintain that delightful crunch of the crust while preserving the softness of the crumb is to store it on the counter in a paper bag or loosely wrapped in a clean kitchen towel. This method prevents moisture buildup that can lead to a chewy texture, allowing you to savor the bread’s delightful character for up to three days.
For longer storage, slice the remaining bread, wrap each piece in parchment, and place them in a zip-top bag in the fridge. This approach keeps the bread fresh for about a week.
For More Guidance:
Why You’ll Love This Recipe:
Tangy flavor that’s built over time:
As hours turn to a delicate dance of fermentation, the natural yeasts awaken, infusing the dough with a tanginess that’s elusive yet delightful. You might not realize it, but the prolonged fermentation allows the complex sugars and acids to develop, creating a depth that store bought bread simply can’t replicate.
A loaf that’s good for your gut:
A loaf that’s good for your gut hinges on a meticulous 24-hour fermentation process. This patiently allows wild yeast and beneficial bacteria, naturally present in the flour and water, to break down gluten and phytic acid. As they work together, these microorganisms create a deliciously tangy flavor while enhancing the loaf’s health benefits.
Simple timing that works with your day:
You’ll love how this recipe seamlessly integrates into your busy schedule, transforming an Effortful stage into a manageable delight. The process is spread out with plenty of resting, shaping, and an overnight cold proof, which means you can enjoy the thrill of baking without being linked to the kitchen for hours. Imagine mixing your ingredients in the morning and waking up the next day to the enticing aroma of freshly baked goods all without the pressure of a time crunch.
A chewy crumb with a nutty crust:
The chewy crumb of this bread, enhanced by the deep flavor of bread flour, creates a delightful structure that promises both airiness and satisfaction in every bite. With the addition of honey, not only do you get that perfect chewiness that makes you want to take another slice, but subtle sweetness elevates overall flavor profile, inviting you enjoy it any time of day. Rolled oats provide a hearty, nutty bite that makes this bread not just something spread butter on, but a standout centerpiece for your meals.
Frequently Asked Questions
Is this loaf really sweet?
You definitely will taste a little sweetness, but it’s far from a sweet bread.
Can I reduce the honey?
I’ve made this loaf with only 30 grams of honey, and it still comes out really good. It just won’t have quite as much sweetness, chewiness, or color. If you use less honey, I’d add a little extra water, about 350 grams. And if you’d rather leave the honey out completely, that’s fine too.
Must I ues a bubbly sourdough starter?
Yes, it’s best to use a fed starter for this recipe. It helps the dough ferment properly (during dough rest) and gives you the satisfying tangy flavor we all expect from well-made sourdough bread.
Is this a fluffy bread?
Yes, this delicious bread is soft and airy enough to slice like a classic sandwich loaf. But it has a slightly more open, chewy crumb thanks to the oats and long fermentation. The interior stays tender while still holding its shape, so it’s not dense or heavy. Using an active starter, proper bulk fermentation, and the stretch-and-fold technique ensures the bread rises well and develops that light, airy structure that makes it perfect for sandwiches.
Happy baking!
Honey Oat Sourdough Bread: Easy Homemade Bread Recipe
Equipment
- 2 qt. straight edge plastic bowls
- Danish Dough Whisk
- Reusable shower caps
- Banneton
- Lame
- Dutch Oven
Ingredients
- 100 grams sourdough starter 1/2 cup
- 100 grams honey scant 1/3 cup
- 330 grams water 1 1/4 cups + 2 Tablespoons
- 90 grams rolled oats plus more for rolling 1 cup
- 500 grams bread flour 3 1/2 cups
- 12 grams salt 2 teaspoons
Instructions
Make the Dough
- In a large mixing bowl, add active sourdough starter, honey and room temperature, filtered water. Mix with a dough whisk or your hand until it looks like a golden, milky liquid.
- 100 grams sourdough starter,100 grams honey,330 grams water
- To the wet ingredients, add the bread flour, rolled oats, and salt. Be sure to mix until all of the flour is incorporated. The dough will look wet and sticky, not like a uniform dough ball.
- 90 grams rolled oats, plus more for rolling,500 grams bread flour,12 grams salt
- Cover the bowl with plastic wrap (I use a reusable shower cap) and let the dough rest for at least 30 minutes before you move on to the next step.
Stretch and Folds
- With slightly wet fingers, scrap a piece of the dough away from the bowl. Grab a section of the dough and stretch the bread dough above your bowl. Then fold over on top of the dough.
- Rotate your bowl clockwise a quarter of the way and repeat identical stretch and fold. Repeat the process until you come full circle, about 4-6 times. You will notice the dough will start to look much smoother than before.
- Cover the dough again and let it rest for another 30 minutes.
- Repeat the same stretch and folds for a total of 4 rounds with at least 30 minutes of rest in between each set. Cover the dough after each round of stretch and folds.
- Once you have completed the final set of stretch and folds, cover the dough and let it rest for the remainder of the bulk fermentation on your counter, about 7-9 more hours if the dough is kept at 70 degrees F.
Bulk fermentation
- Now this is the most finicky part of sourdough. There isn’t a set time for your bulk ferment. It is greatly dependent on the temperature of your environment and ingredients. The warmer it is, the faster your dough will ferment. The opposite is true for cooler temperatures.
- In an environment of 70 degrees, doughs will typically bulk ferment for 7-9 more hours after the stretch and folds, but again, you will have to look for the signs that your dough is done fermenting, rather than the clock. Warmer temperatures will be faster, while cooler temperatures will be slower.
Here’s what to look for:
- -The dough should have increased in size by at least 75% and be domed on top.
- -The dough looks light, and jiggles when the bowl is shaken.
- -The dough should easily pull away from the bowl.
- -There should be visible bubbles in the dough and on top.
- -The dough doesn’t tear when you do a windowpane test
Pre-shape
- With slightly wet fingers, gently release the dough from the sides of the bowl. Be careful not to pop all of those lovely bubbles! Tilt the bowl and leave gravity to do the work to move the dough on the counter.
- Shape the dough by doing another round of stretch and folds until you have gone full circle.
- With a bench scraper or your hands, turn the dough upside down, so the seam is now on the counter. Cover the dough with the bowl and let it rest for 30 minutes.
- While you are waiting for the dough to rest, prepare your proofing basket. This can either be a banneton or a small mixing bowl lined with a tea towel. The purpose of this proofing basket is to keep the tight shape that you will create, so make sure you are using a standard bowl that is small enough to help keep the shape.
- I don’t dust the banneton or tea towel with flour since the rolled oat will help to prevent the dough from sticking.
- You will also prepare the oat topping by laying a clean tea towel on your work surface. Pour more rolled oat on the tea towel in a single layer. Set aside.
Final shape
- After 30 minutes of rest, flip the dough, with the seamed side up. Gently pull the bottom of the dough towards you, then fold it towards the center of the dough. Pull the right side of the dough out and fold towards the center. Repeat with the left side. Finally, stretch the top of the dough away from you and fold towards the center of the dough.
- Flip the dough over again, seam side down.
- Gently cup your hands around the dough ball. Turn the ball in a clockwise motion about a quarter turn and then softly pull the dough towards you. Do this repeatedly until you see the dough form a tighter and more round shape. Stop if the dough starts to tear.
- While holding the dough carefully in one hand, lightly dampen the top of the dough with some water. Then gently roll the wet dough onto the tea towel with the rolled oats. The rolled oat should stick to the dough. Re-roll if you missed any spots.
- Carefully lay your dough into your proofing basket (oat side down) and cover it with a plastic bag or a shower cap.
Cold proof
- Place your proofing basket in the fridge to cold-proof for 8–72 hours.
- Placing your dough in the fridge slows down the fermentation process, which deepens the flavors of your loaf. It also gives you flexibility in when you want to bake your bread.
- But don’t wait too long! If left in the fridge for too long, your dough will over-ferment, causing the dough to not be able to rise while baking.
Score
- 30 minutes before baking, place the dough in the freezer. This helps the dough to be firmer for easier scoring.
- At the same time, place your Dutch oven in your oven and preheat to 500 degrees F. Allow the Dutch oven to preheat for at least 30 minutes.
- Place a piece of parchment paper on your workspace and gently flip the banneton upside down over the parchment paper. Since you coated the dough with rolled oats, your dough should slowly release and fall onto the parchment paper, landing in the middle with the oat side facing up.
- With a lame / razor blade or sharp knife, score a crescent moon shape on top of the dough. This is necessary for your bread to be able to expand while baking.
- Grab the corners of the parchment paper and carefully place the Honey Oat dough into your preheated Dutch oven and cover with the lid.
Bake
- Lower the oven to 450 degrees F and bake the bread covered for 30 minutes. Then remove the lid of the Dutch oven and continue to bake the bread for an additional 10-15 minutes with the lid off at 425 degrees F. If your crust is browning too quickly, cover the top with aluminum foil while you continue to bake.
- Once golden brown with the internal temperature at least 205 degrees F, remove the Dutch oven from your oven.
- Using the corners of the parchment paper, lift the sourdough bread out of the Dutch oven and place it onto a wire rack to cool.
- Allow your homemade bread to cool for at least 1 hour before cutting into it. (I know! How can you possibly wait when it looks and smells so good? But trust me, if you cut in too soon, your masterpiece will turn gummy.)
- Once the hour is up, slice into your work of art and slather on some butter with a drizzle of honey, and enjoy!