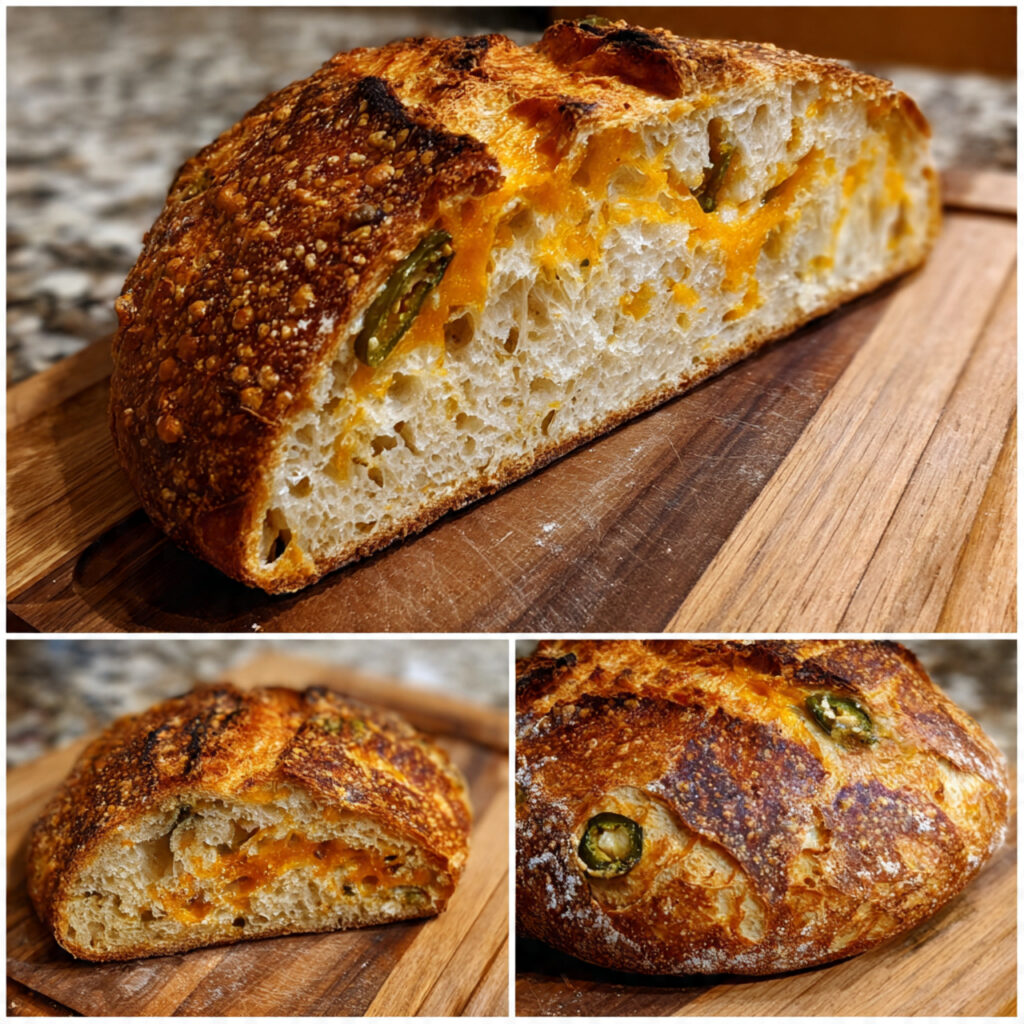
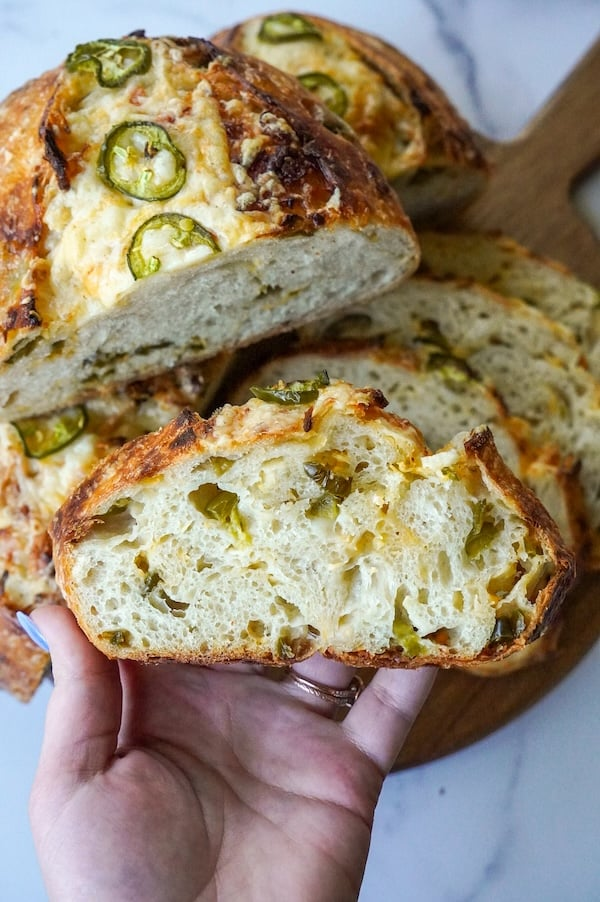
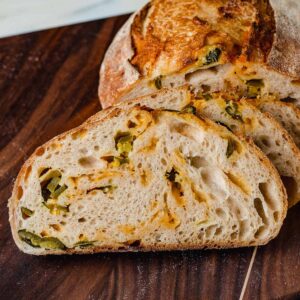
Jalapeño and Cheddar Sourdough Bread (So Cheesy!)
This article will introduce you to a sensational jalapeño and cheddar sourdough bread recipe that you can easily whip up at home. Follow our step by step guide to create a rustic loaf that’s bursting with flavor and perfect for sandwiches, toasts, or just enjoying fresh out of the oven. Get ready to enjoy the irresistible aroma of freshly baked bread filled with delightful heat and savory cheese.

Ingredients & Substitutions
* To find precise measurements, scroll to the bottom of this post to find the recipe card*


Bread flour: Bread flour is best when it comes to making sourdough recipes, however you can use all-purpose flour instead. The higher protein percentage in bread flour gives the dough its strength so that it can rise to great heights and give you the best results.
Water: Use room temperature, filtered water for consistent results.
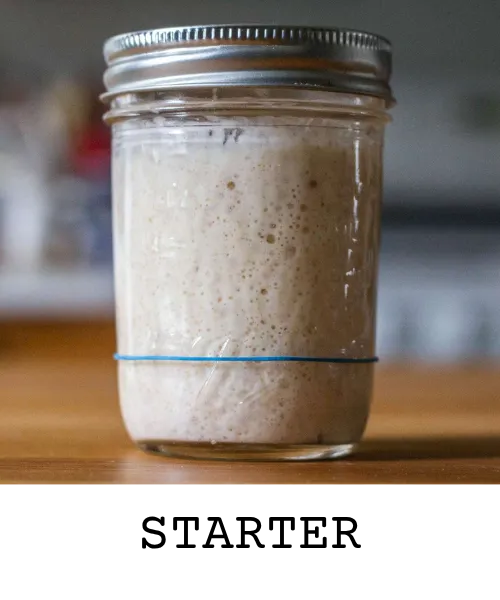
Active sourdough starter: This recipe calls for an active and bubbly sourdough starter. This post shows you how you can easily make your own sourdough starter today.
Salt: Any unrefined salt will do, but my favorite is Redmond’s unrefined salt for some extra minerals!
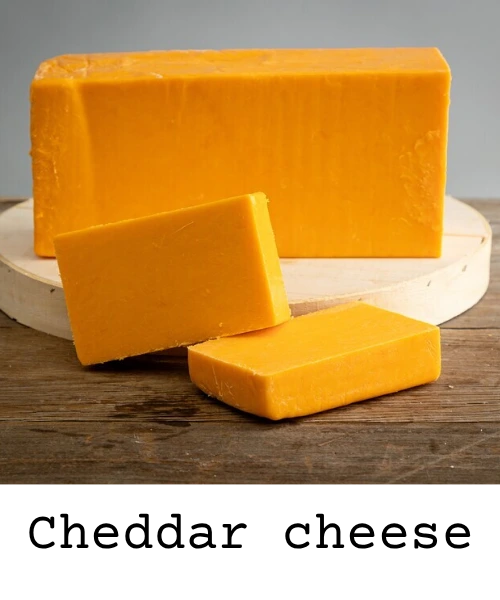
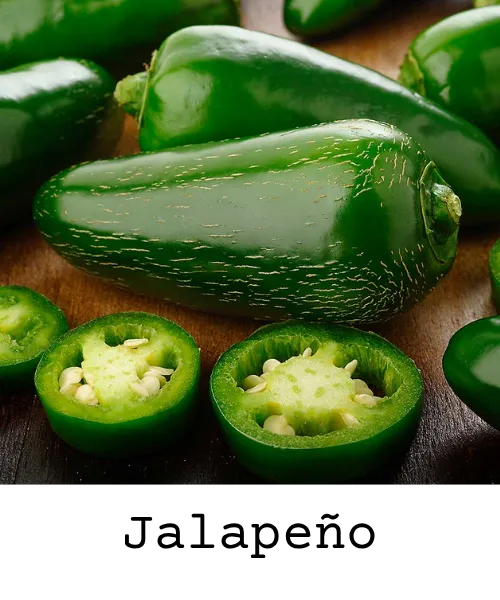
Jalapeños: You can use fresh or pickled and sliced or diced jalapenos. If you are using fresh, remove the seeds and slice into thin rounds or dice into ¼-inch pieces. If using pickled jalapenos, be sure to remove as much of the liquid as possible. I prefer the diced jalapenos so you get a little bit in each bite. Cheddar cheese: For the best flavor, opt for sharp or aged cheddar cheese. It and the jalapeños are the star, so use quality ingredients here. If you choose to use shredded cheddar cheese, don’t use pre-shredded cheese as those are covered in “anti-caking” ingredients.
Supplies
Large bowl
Kitchen scale
Bowl scraper (optional)
Banneton basket (proofing bowl) or small mixing bowl and tea towel
Danish dough whisk
Dutch oven
Parchment Paper
Lame/ Razor blade / Sharp knife
Tea towel, plastic wrap, or what I like to use, a reusable shower cap
Baker’s schedule #1
DAY 1
Feed starter before bed in a 1:4:4 ratio (ex. 10g starter /40g flour /40g water)
DAY 2
9 am: Mix Ingredients
9:30 – 11:30 am: Stretch and fold every 30 minutes (add inclusions during 2nd S&F)
11:30 am: Continue the bulk fermentation
9 pm: Preshape
9:30 pm: Shape and place in the fridge
DAY 3
Score and bake in the morning
This schedule is made for a 68-70 degree environment. Higher temperatures will quicken the process. Lower temperatures will lengthen the process.
Baker’s schedule # 2
DAY 1
Feed starter so that it’s active, bubbly, and at its peak (4-12 hours before mixing dough)
8 pm: Mix Ingredients
8:30- 10:00 pm: Stretch and fold every 30 minutes (add inclusions during 2nd S&F)
10 pm: Continue the bulk fermentation
DAY 2
8 am – Pre-shape
8:30 am – Shape and place in the fridge
Score and bake in the evening
*This schedule is made for a 68-70 degree environment. Higher temperatures will quicken the process. Lower temperatures will lengthen the process.
How to Make Jalapeño and Cheddar Sourdough Bread
Make the Dough:
Start with an active, bubbly sourdough starter. In a large mixing bowl, combine the starter with room temperature filtered water until milky. Add bread flour and salt, mixing until a shaggy dough forms with no dry spots. Cover and let the dough rest for 30 minutes for autolyse, which helps hydrate the flour and develop gluten.
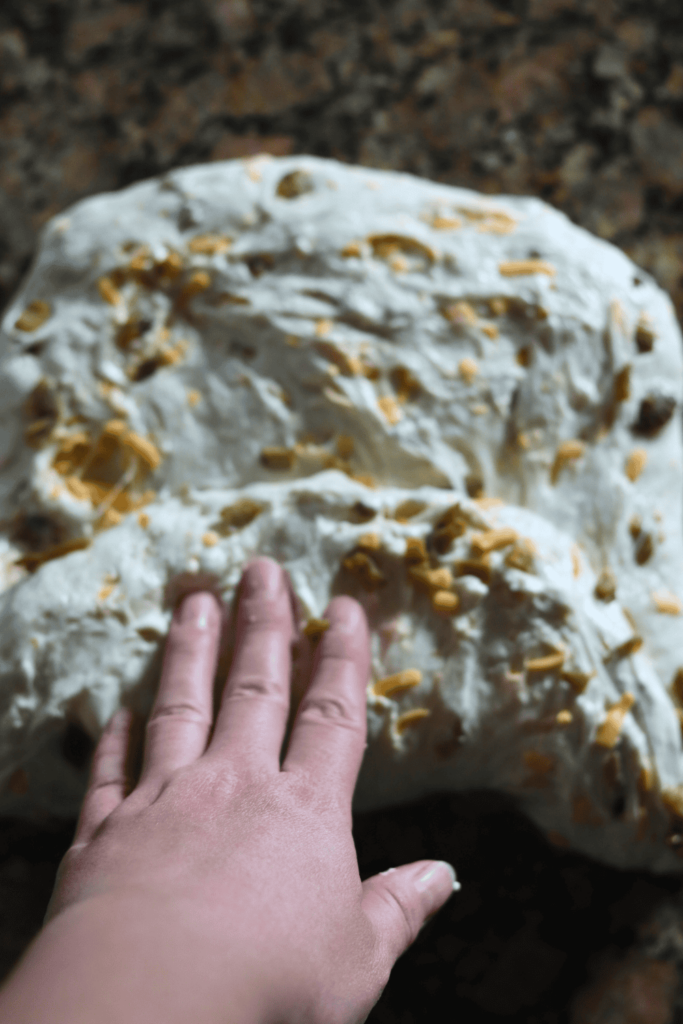
Stretch and Folds:
Using slightly wet hands, perform stretch and fold cycles: pull one side of the dough up and fold it over the rest. Rotate the bowl and repeat 4-6 times per session. Do multiple sessions spaced 15 to 30 minutes apart over the first 2 hours of bulk fermentation. This builds dough strength and elasticity.
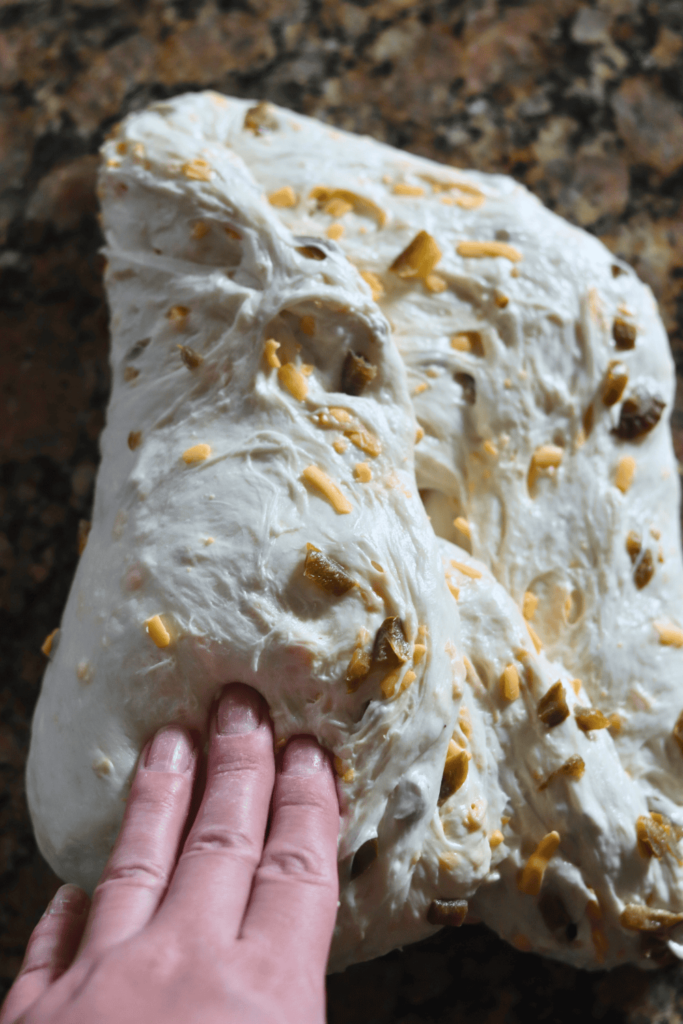
Mix-Ins:
During one of the early stretch and fold sessions (commonly the second), evenly incorporate finely diced fresh or pickled jalapeños (drained well) and freshly shredded sharp cheddar cheese into the dough. Add the mix-ins in thirds over several folds to avoid deflating the dough and ensure even distribution.
Bulk Fermentation:
Cover the dough and allow it to ferment at around 68–70°F (20–21°C) for 9 to 11 hours until it increases in volume by about 50-75%, develops visible bubbles, jiggles when moved, and passes the windowpane test. The timing depends on your kitchen temperature.
Here’s what to look for:
- The dough should have increased in size by at least 50-75% and be domed on top.
- The dough looks light, and jiggles when the bowl is shaken.
- The dough should easily pull away from the bowl.
- There should be visible bubbles in the dough and on top.
- The dough doesn’t tear when you do a windowpane test
Pre-shape:
Gently release the dough onto a floured surface, taking care to preserve bubbles. Shape loosely into a round and cover with a bowl or plastic wrap. Let it rest for 20 to 30 minutes to relax the gluten before final shaping.
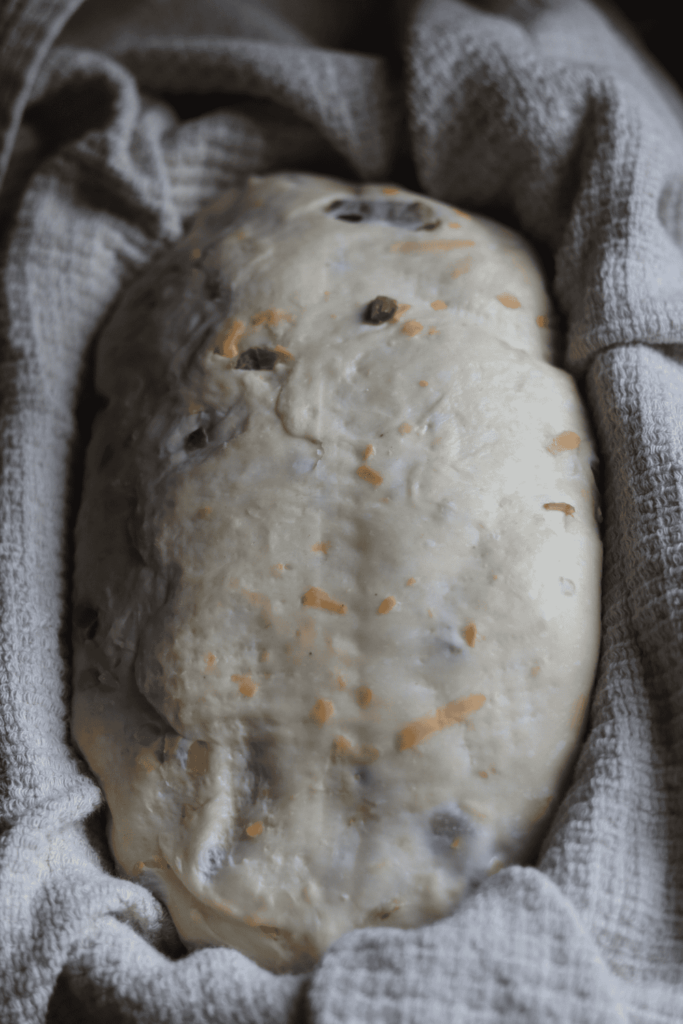
Final Shape:
Tighten the dough into a smooth, round boule by gently folding edges toward the center and turning the dough under itself to build surface tension. Place seam-side up in a floured banneton or a bowl lined with a floured towel. Cover to prevent drying.
Cold Proof:
Refrigerate the shaped dough for 8 to 72 hours. This slow cold proof enhances flavor complexity and allows flexible baking timing. Do not exceed 72 hours to avoid overfermentation which can cause dough to weaken.
Score
30 minutes before baking, place the dough in the freezer. This helps with the scoring design.
At the same time, place your Dutch oven in your oven and preheat to 500 degrees F. Allow the Dutch oven to preheat for at least 30 minutes.
Place a piece of parchment paper on your workspace and gently flip the banneton upside down over the parchment paper. Since you dusted the banneton, your dough should slowly release and fall onto the parchment paper, landing in the middle with the floured side facing up.
Serving Ideas
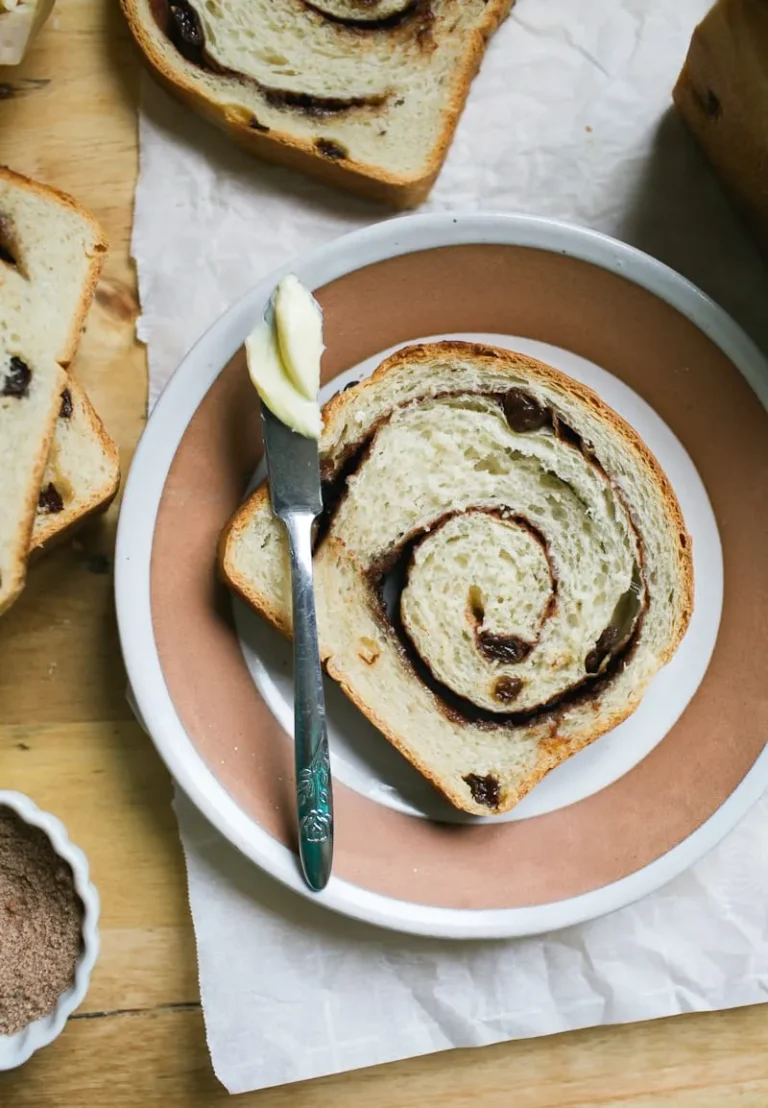
- Warm slices with butter or cream cheese.
- Use as a bread base for hearty sandwiches or paninis.
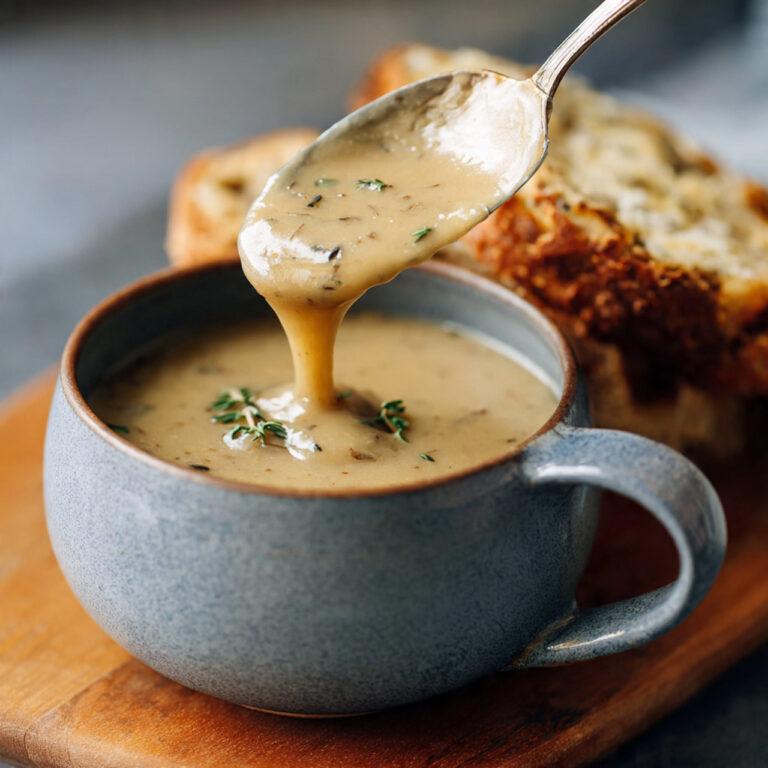
- Serve alongside chili, stew, or grilled meats.
- Toast with avocado slices or jam for breakfast.
How to Store
Keep leftovers in an airtight container or tightly wrapped in plastic wrap at room temperature for up to 2 days. If you need to store it longer, refrigerate for up to a week.
You can also freeze it. Wrap slices individually in plastic wrap, then place them in a freezer bag. For the best texture, reheat in the oven or toaster.
For More Guidance:
Why You’ll Love This Recipe
Easy:
This easy recipe not only delivers delicious results but also fills your kitchen with an irresistible aroma that beckons everyone to gather around the oven.
Full of flavor:
This Jalapeño and Cheddar Sourdough Bread recipe is a game changer for your baking collection. Packed with vibrant flavors, the spicy kick of jalapeños perfectly complements the rich, creamy notes of sharp cheddar cheese, creating an experience that tantalizes the taste buds.
Customizable:
What truly sets this bread apart is its customizable nature: you can choose your exclusive level of heat by adjusting the amount of jalapeños or even experimenting with different cheeses. Imagine the depth of flavor you can achieve by adding smoked cheddar or pepper jack for an extra layer of complexity.
Frequently Asked Questions
Can I use all-purpose flour instead of bread flour?
Yes, you can use all-purpose flour, but bread flour gives better structure and rise due to its higher protein content. Your loaf may turn out slightly softer with all-purpose flour.
Should I use fresh or pickled jalapeños?
Either works! Fresh jalapeños give a sharper heat, while pickled ones add a tangy flavor. Just be sure to drain pickled jalapeños well to avoid excess moisture in the dough.
How do I know when my bulk fermentation is done?
Look for signs like a 50-75% rise in dough, visible bubbles, a jiggly texture, and dough that pulls away easily from the bowl. If it tears during a windowpane test, then your homemade sourdough bread dough needs a little more time.
What happens if I leave my dough in the fridge too long?
Extending the cold ferment too long can cause your dough to deflate and lose strength, resulting in a dense loaf. For the best results, bake within 8-72 hours.
How do I bake the bread for a crispy crust and good oven spring?
Preheat a Dutch oven to 500°F (260°C), bake covered for 30 minutes at 450°F (230°C), then uncover and bake for an additional 10-15 minutes until golden and crisp.
Happy baking!
Jalapeño and Cheddar Sourdough Bread Recipe
Ingredients
- 50 grams 1/4 cup active sourdough starter
- 350 grams 1 1/2 cups filtered water, room temperature
- 500 grams 3 1/2 cups bread four
- 10 grams 1 1/2 teaspoons salt
- 70 grams 1/3 cup fresh or pickled jalapeños, diced
- 113 grams 1 1/2 cups cheddar cheese, freshly shredded
Instructions
Make the Dough
- In a large mixing bowl, add active, bubbly sourdough starter and room temperature, filtered water. Mix with a Danish dough whisk or your hand until it looks like a milky liquid.
- 50g (1/4 c) active sourdough starter, 350g (1 1/2 c) filtered water, room temperature
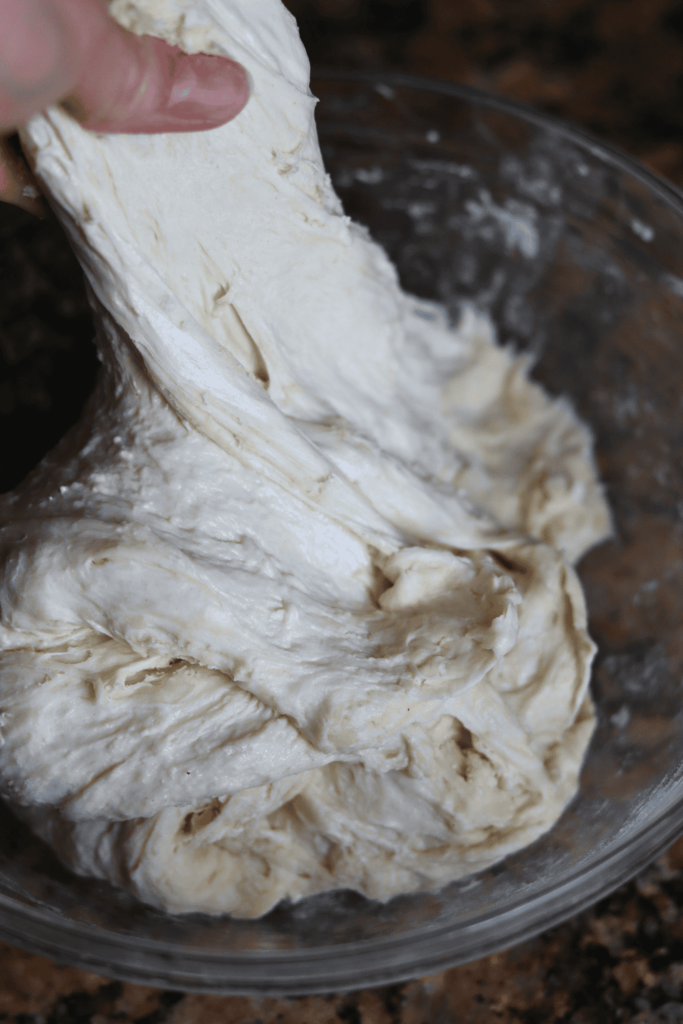
- To the wet ingredients, add the bread flour and salt. Be sure to mix until all of the flour is incorporated. The dough will look shaggy, not like a uniform dough ball.
- 500g (3 1/2 c) bread flour, 10g (1 1/2 tsp) salt
- Cover the bowl with plastic wrap (I use a reusable shower cap) and let the dough rest for at least 30 minutes before you move on to the next step.
Stretch and Folds
- With slightly wet fingers, scrape the dough away from the bowl. Grab a section of the dough and stretch the bread dough above your bowl. Then fold over on top of the dough.
- Rotate your bowl clockwise a quarter of the way and repeat identical stretch and fold. Repeat the process until you come full circle, about 4-6 times. You will notice the dough will start to look much smoother than before.
- Cover the dough again and let it rest for another 30 minutes.
Mix-Ins
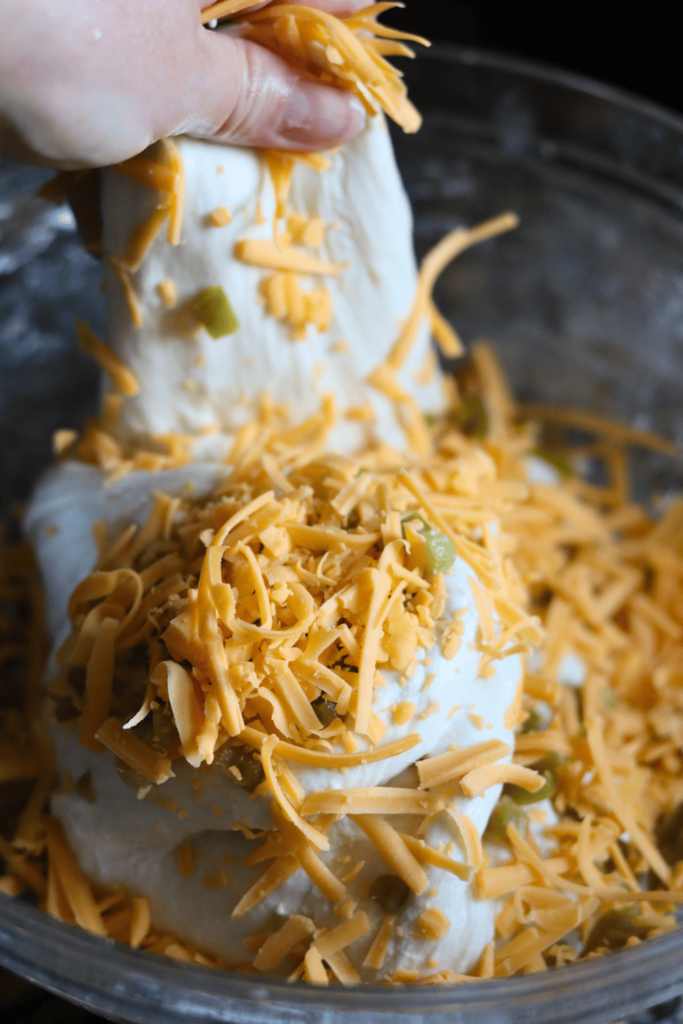
- Before starting your second set of stretches and folds, prepare the jalapeños and cheddar cheese.
- You can use fresh or pickled jalapeños. If you are using fresh, remove the seeds and slice into thin rounds or dice into ¼-inch pieces. If using pickled, be sure to remove as much of the liquid as possible. Similar to the fresh, you can add sliced or diced pickled jalapeños depending on your preference. I prefer the diced jalapeños so you get a little bit in each bite.
- 70g (1/3 c) fresh or pickled jalapeños, diced or sliced, 113g (1 1/2 c) cheddar cheese, shredded
- To the top of your dough, sprinkle 1/3 of each mix-in. Perform one stretch and fold. Then add another 1/3 of the mix-ins, do one more stretch and fold. Add the last 1/3 of the mix-ins and complete the rest of the stretch and folds. Some inclusions may break through the dough, totally fine. They will continue to be mixed in during your next rounds of stretch and folds.
- Cover and let rest for another 30 minutes.
- Repeat the identical stretch and fold two more times (for a total of 4 different rounds), waiting at least 30 minutes between each stretch and fold. Cover the dough after each stretch and fold.
- Once you have completed the final set of stretch and folds, cover the dough and let it rest for the remainder of the bulk fermentation on your counter, about 9-11 more hours if the dough is kept at 68-70 degrees F.
Bulk fermentation
- Now this is the most finicky part of sourdough. There isn’t a set time for your bulk ferment. It is greatly dependent on the temperature of your environment. The warmer it is, the faster your dough will ferment. The opposite is true for cooler temperatures.
- In an environment of 68-70 degrees F, doughs will typically bulk ferment for 9-11 hours more after the stretch and folds, but again, you will have to look for the signs that your dough is done fermenting, rather than the clock. Warmer temperatures will be faster, while cooler temperatures will be slower.
Here’s what to look for:
- The dough should have increased in size by at least 50-75% and be domed on top.
- The dough looks light, and jiggles when the bowl is shaken.
- The dough should easily pull away from the bowl.
- There should be visible bubbles in the dough and on top.
- The dough doesn’t tear when you do a windowpane test
Pre-shape
- With slightly wet fingers, gently release the dough from the sides of the bowl. Be careful not to pop all of those lovely bubbles! Tilt the bowl and leave gravity to do the work to move the dough on the counter.
- 13, Shape the dough by doing another round of stretch and folds until you have gone full circle.
- With a bench scraper or your hands, turn the dough upside down, so the seam is now on the counter. Cover the dough with the bowl and let it rest for 30 minutes.
- While you are waiting for the dough to rest, prepare your proofing basket. This can either be a banneton or a small mixing bowl lined with a damp tea towel. The purpose of this proofing basket is to keep the tight shape that you will create, so make sure you are using a standard bowl that is small enough to help keep the shape.
- Dust the banneton or the tea towel with flour (most will say to use rice flour, but I have used just regular all-purpose flour) to prevent sticking.
Final shape
- After 30 minutes of rest, flip the dough, with the seamed side up.
- Gently pull the bottom of the dough towards you, then fold it towards the center of the dough. Pull the right side of the dough out and fold towards the center. Repeat with the left side. Finally, stretch the top of the dough away from you and fold towards the center of the dough. Flip the dough over again, seam side down.
- Gently cup your hands around the dough ball. Turn the ball in a clockwise motion about a quarter turn and then softly pull the dough towards you. Do this repeatedly until you see the dough form a tighter and more round shape. Stop if the dough starts to tear.
- With a bench scraper or just your hands, carefully scoop up the dough and lay it upside down (seed side down) into your floured proofing basket and cover it with a plastic bag or a shower cap.
Cold proof
- Place your proofing basket in the fridge to cold-proof for 8-72 hours.
- Cold fermenting the dough in the fridge slows down the fermentation process, which enhances the flavor of your loaf. It also gives you more flexibility in when you bake your bread.
- But don’t wait too long! If left in the fridge for too long, your dough will over-ferment, causing the dough to not be able to rise while baking.
Score
- 30 minutes before baking, place the dough in the freezer. This helps with the scoring design. At the same time, place your Dutch oven in your oven and preheat to 500 degrees F. Allow the Dutch oven to preheat for at least 30 minutes.
- Place a piece of parchment paper on your workspace and gently flip the banneton upside down over the parchment paper. Since you dusted the banneton, your dough should slowly release and fall onto the parchment paper, landing in the middle with the floured side facing up.
- With a lame / razor blade or sharp knife, score a crescent moon shape on top of the dough. This is necessary for your bread to be able to expand while baking.
- Grab the corners of the parchment paper and carefully place the Sourdough Jalapeño & Cheddar dough into your preheated Dutch Oven and cover with the lid.
- Lower the oven to 450 degrees F and bake the bread covered for 30 minutes. Then remove the lid of the Dutch oven and continue to bake the bread for an additional 10-15 minutes with the lid off.
- Once golden brown, remove the Dutch oven from your oven.
- Using the corners of the parchment paper, lift the sourdough bread out of the Dutch oven and place it onto a wire rack to cool.
- Allow your homemade bread to cool for at least 1 hour before cutting into it. (I know! How can you possibly wait when it looks and smells so good? But trust me, if you cut in too soon, your masterpiece will turn gummy.)
- Once the hour is up, slice into your work of art and slather on some butter, and enjoy!
Notes
Baker’s schedule #1
DAY 1 Feed starter before bed in a 1:4:4 ratio (ex. 10g starter /40g flour /40g water) DAY 2 9 am: Mix Ingredients 9:30 – 11:30 am: Stretch and fold every 30 minutes 11:30 am: Continue the bulk fermentation 9 pm: Preshape 9:30 pm: Inclusions, shape and place in the fridge DAY 3 Score and bake in the morning This schedule is made for a 68-70 degree environment. Higher temperatures will quicken the process. Lower temperatures will lengthen the process.Baker’s schedule # 2
DAY 1 Feed starter so that it’s active, bubbly, and at its peak (4-12 hours before mixing dough) 8 pm: Mix Ingredients 8:30- 10:00 pm: Stretch and fold every 30 minutes 10 pm: Continue the bulk fermentation DAY 2 8 am – Pre-shape 8:30 am – Inclusions, shape and place in the fridge Score and bake in the evening *This schedule is made for a 68-70 degree environment. Higher temperatures will quicken the process. Lower temperatures will lengthen the process.

Cheese-Stuffed Sourdough Flatbread (Oozy Centers in 15!)