How to Clean a Ninja Blender (The Simple Way)
For busy home cooks and bakers, a blender is one of the hardest‑working tools in the kitchen, which means it gets messy fast. If you are wondering how to clean a Ninja blender without harsh chemicals or complicated steps, you are in the right place. This guide breaks everything down into quick, practical methods using everyday ingredients so your blender stays spotless for smoothies, doughs, sauces, and more.
If you’re whipping up smoothies, soups, or even quick batters in your Ninja blender, you know how pesky residue can build up fast. If you have ever wondered how to clean a Ninja blender without endless scrubbing, the good news is that it does not require disassembly marathons. Follow this foolproof, 5‑minute method using just dish soap, water, and your blender’s own power—no brushes needed.
Ninja blenders have self‑cleaning superpowers thanks to their high‑speed blades, making them perfect for a quick clean between recipes. Instead of aggressive scrubbing that can dull blades or scratch plastic parts, learning how to clean a Ninja blender with a simple, gentle cycle keeps everything in top shape. This easy routine keeps your blender hygienic, odor‑free, and ready for your next creation.

Though I do regular cleanings on my Ninja Blender, it is sometimes inevitable for stubborn stains and food residue to appear. This calls for proper cleaning. Luckily, if you follow these simple steps, what might seem like a chore is really an easy task to once again achieve that sparkling Ninja Blender.
You May Need the Following Items:
- Hot Water
- Mild Dish Soap
- White Vinegar
- Baking soda
- Lemon
- Soft Sponge
- Cleaning Toothbrush
3 Different Ways to Clean a Ninja Blender:
Self-Cleaning Method:
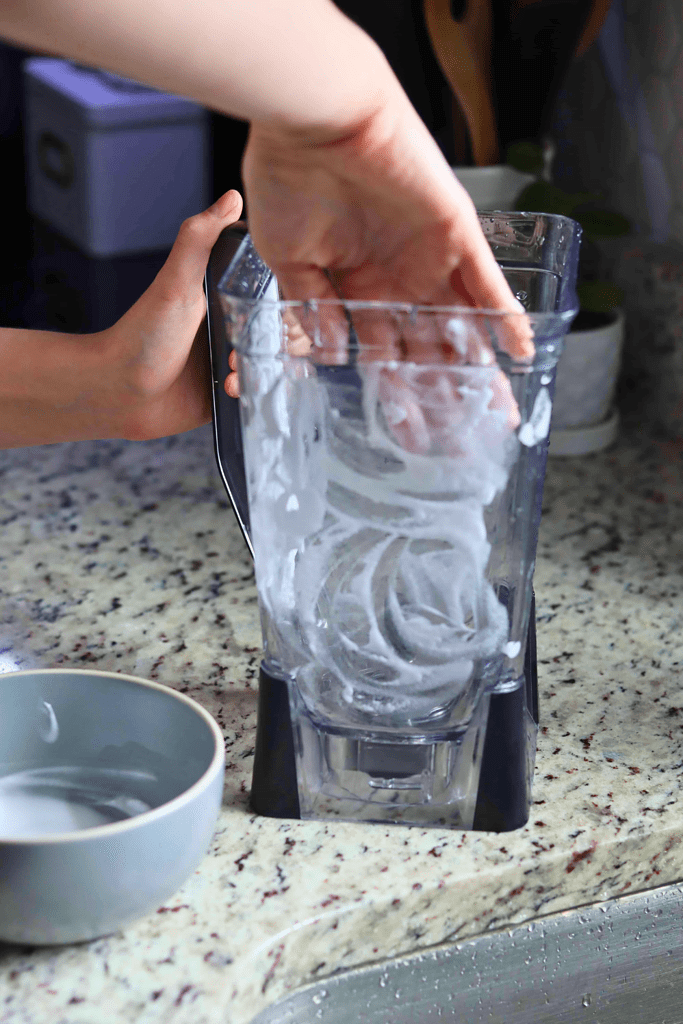
For a quick “self-clean” on a Ninja blender, start by emptying the pitcher and giving it a brief rinse to remove any large bits of food. Then fill it about halfway with warm water and add a few drops of dish soap. Secure the lid, place the pitcher back on the base, and run the blender on a high setting for 30 to 60 seconds so the soapy water can reach all surfaces and around the blades.
After blending, remove the pitcher from the base and pour out the soapy water, being careful of the blades. Rinse the pitcher and lid thoroughly under warm running water until all soap residue is gone. If any spots remain, repeat the cycle or spot‑clean them with a soft sponge before rinsing again this is one of the easiest steps in how to clean a Ninja blender.
When everything is clean, shake off excess water and place the pitcher, lid, and any removable parts upside down on a drying mat or rack to air dry completely. Make sure the base never goes in water; simply wipe it with a damp cloth if needed. Following this simple routine is key in how to clean a Ninja blender safely without damaging the motor or controls.
Using this self‑cleaning method right after blending helps prevent stains and stuck‑on residue, keeping your pitcher clear and odor‑free. As you build the habit of how to clean a Ninja blender immediately after use, you will spend less time deep‑cleaning later and keep every smoothie or batter tasting fresh.
Dishwasher Method:
Dishwasher cleaning works well for many Ninja models, but always check your specific manual first to confirm which parts are dishwasher safe and which rack to use. Most standard models allow the pitcher, lid, and blade assembly in the dishwasher, while the motor base must always be washed by hand and never submerged in water. When in doubt, treat any heated or specialty pitcher as hand wash only to avoid damage.
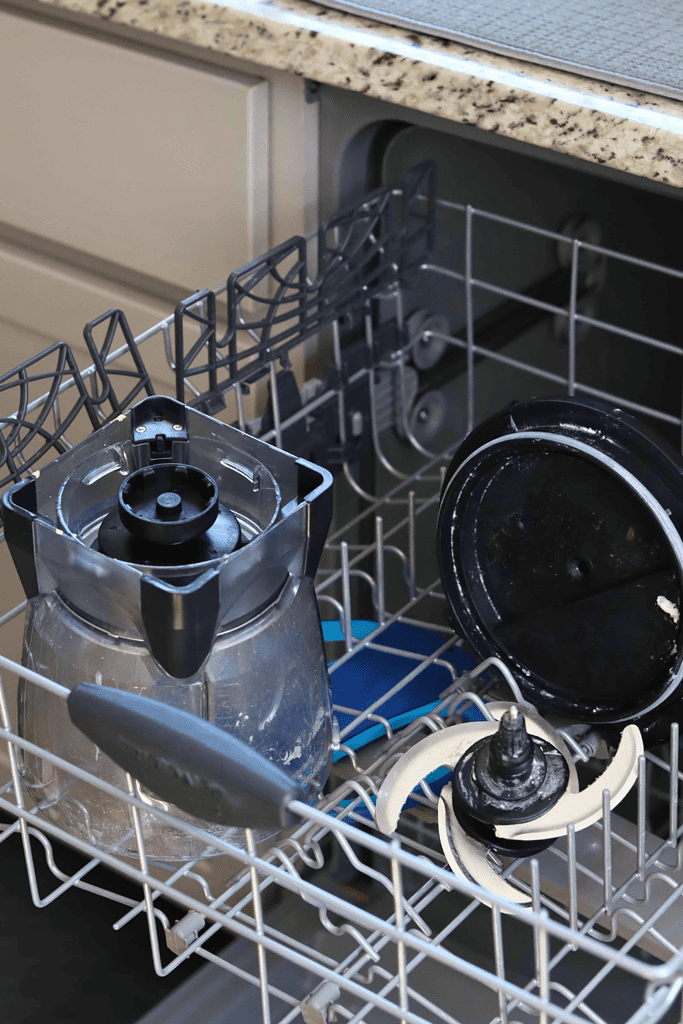
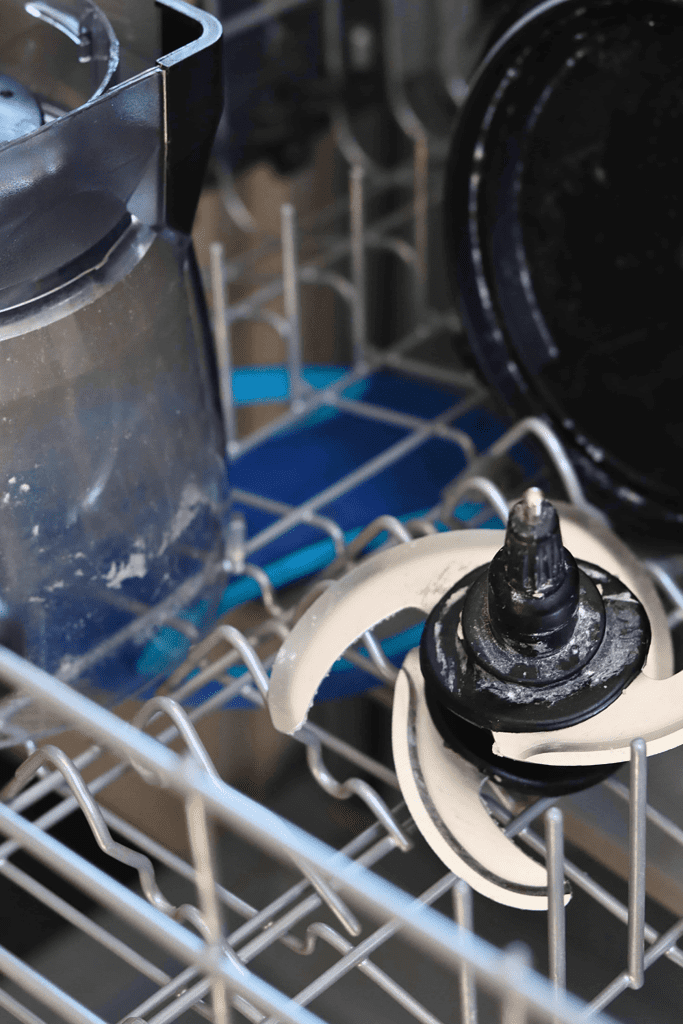
To use the dishwasher method, start by unplugging the blender and fully disassembling it: remove the pitcher from the base, take out the blade assembly, lid, and any removable gaskets. Rinse off any heavy food residue under warm water so it does not bake onto the plastic during the wash cycle. Place the pitcher and larger parts securely so they will not flip over, and put blades and smaller pieces in the top rack or a utensil basket to protect their edges—an important first step in how to clean a Ninja blender with the dishwasher.
Use a regular or light dishwasher cycle with a mild detergent instead of high‑heat “pots and pans” or sanitize cycles, which can warp plastic and shorten the life of gaskets and blades. Once the cycle is finished, let all parts air‑dry completely or towel‑dry the crevices before reassembling to prevent trapped moisture and odors. Following these settings is key in how to clean a Ninja blender safely without damaging the components.
Clean the motor base separately with a damp cloth, making sure the control panel and underside stay dry and never submerged. When you understand how to clean a Ninja blender this way—dishwasher for safe parts, gentle wiping for the base—you get a deep clean with minimal effort and keep the appliance running smoothly for the long haul.
Handwashing Method:
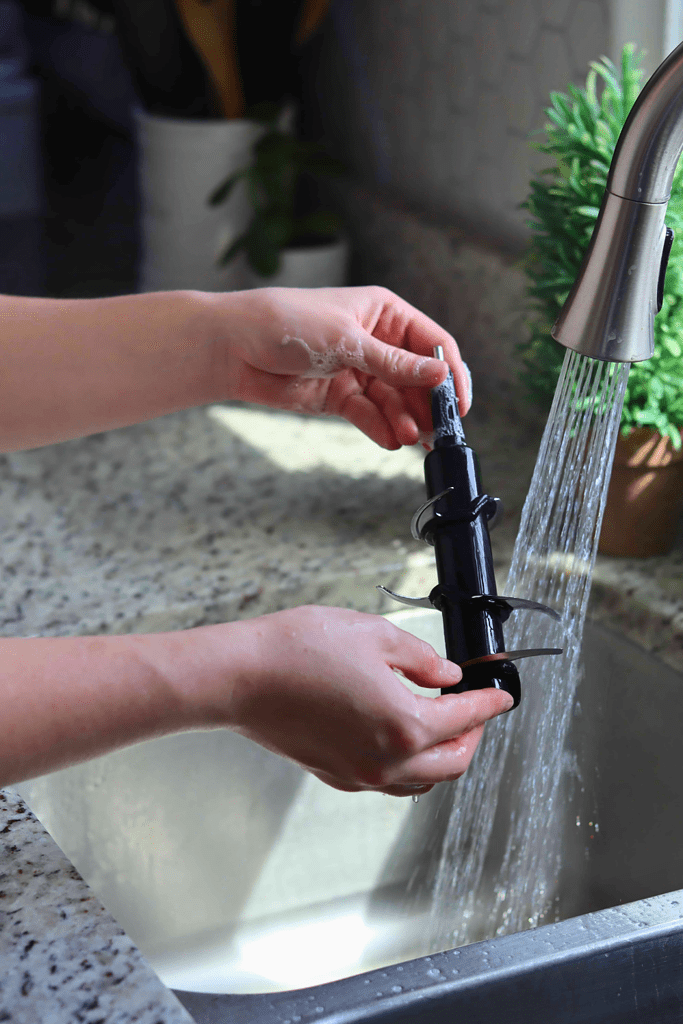
Handwashing is the safest method for most Ninja blender parts and helps them last longer. Start by unplugging the blender, removing the pitcher from the base, and carefully lifting out the blades and lid. Rinse everything under warm running water to remove any loose food so you are not scrubbing chunky residue around sharp edges.
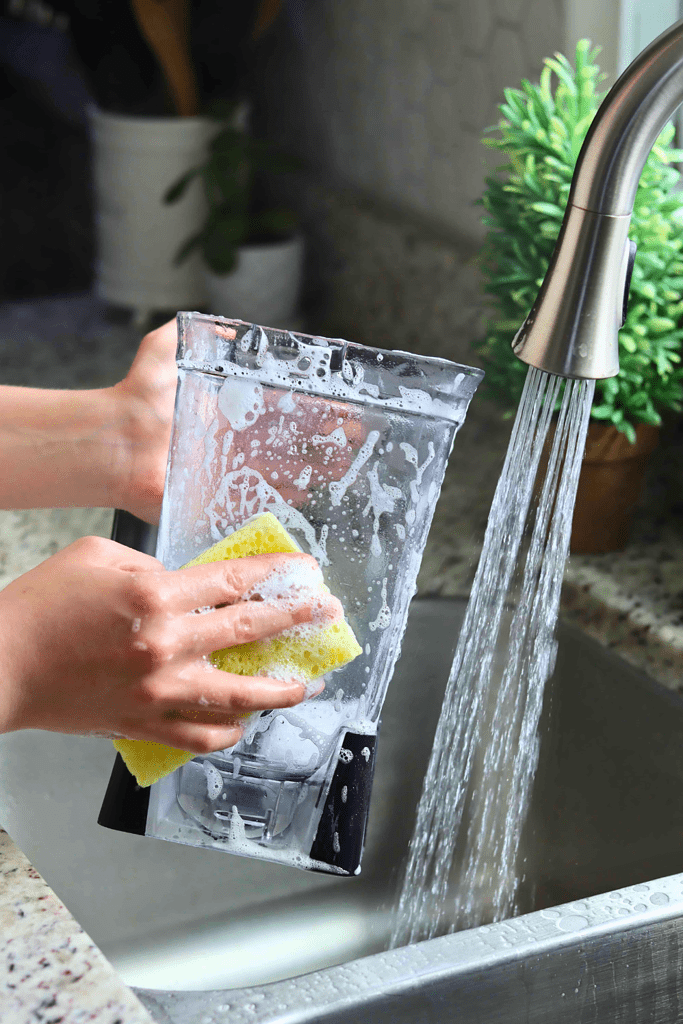
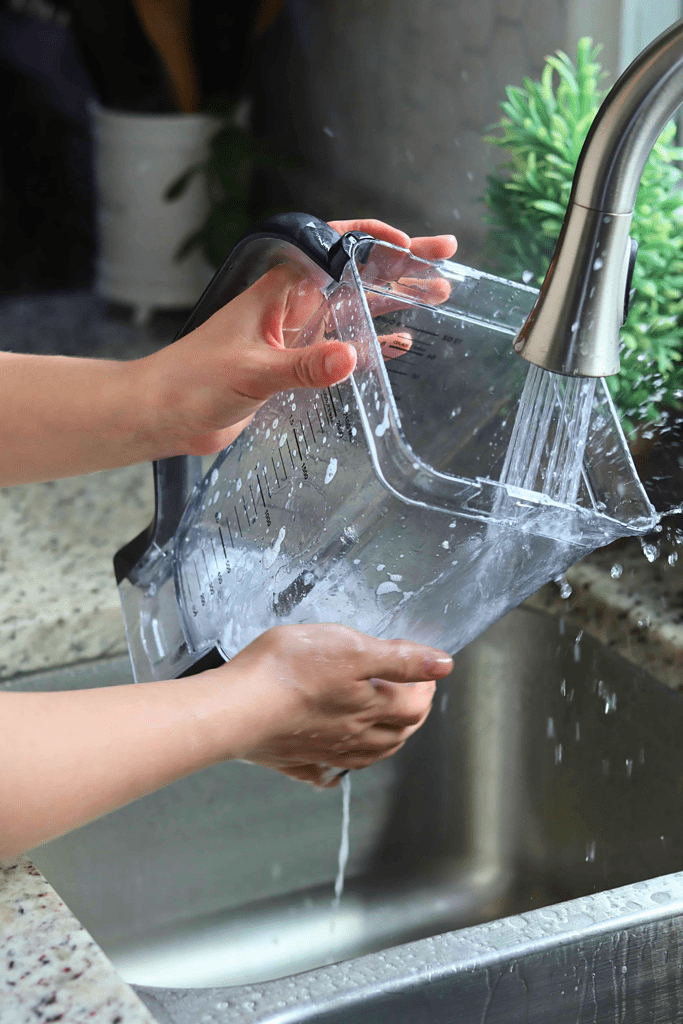
Rinse all parts thoroughly under warm water until there are no suds left, then shake off excess water. Set the pitcher, lid, and blades upside down on a drying rack or clean towel and let them air‑dry completely before reassembling. Wipe the motor base separately with a damp cloth only, keeping water away from buttons and electrical components.
How to Clean a Ninja Blender with Stains:
Stubborn stains on a Ninja blender usually come from colorful or oily blends, but they are fixable with a few pantry ingredients. Focus on gentle, slightly abrasive cleaners like baking soda, lemon, or vinegar so you do not scratch the pitcher. Always start with a quick rinse and basic wash, then move to a stain‑targeted method if the discoloration remains.
Option 1:
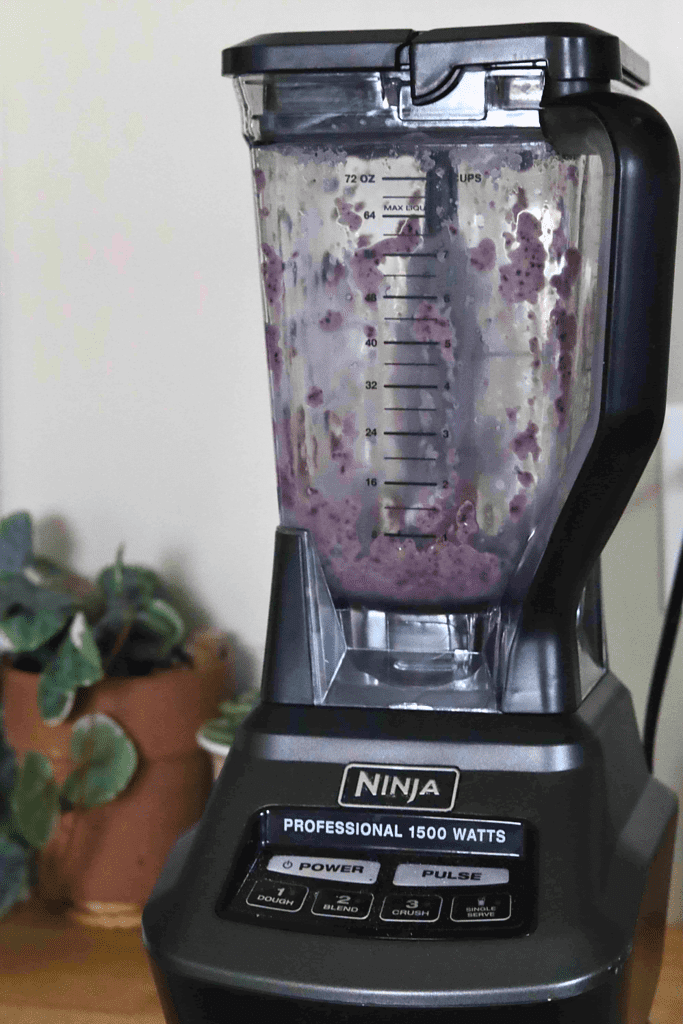
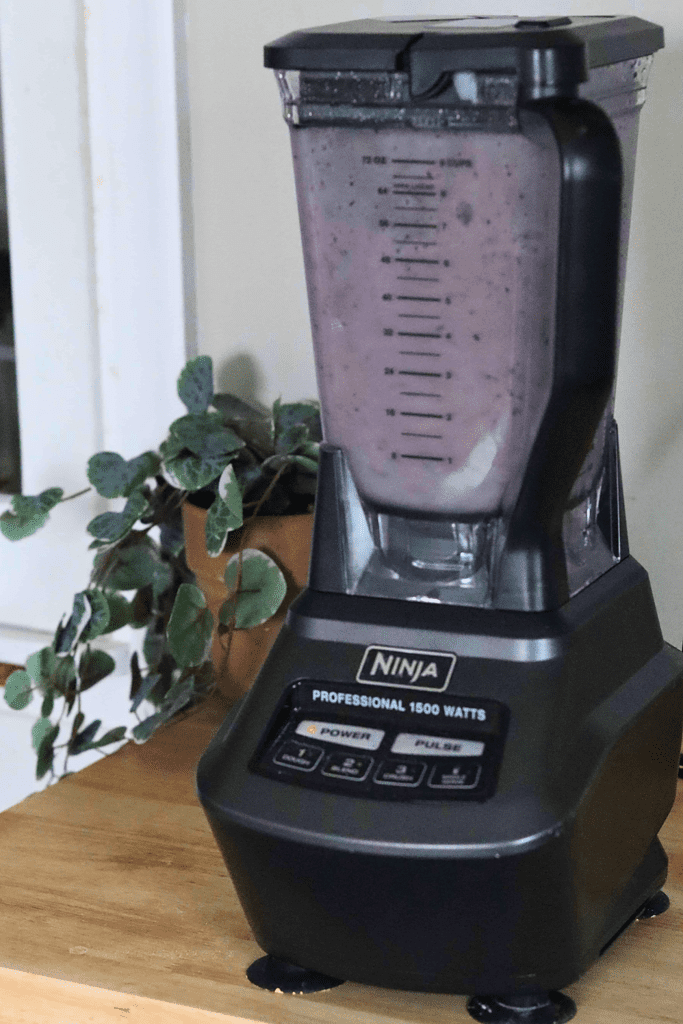
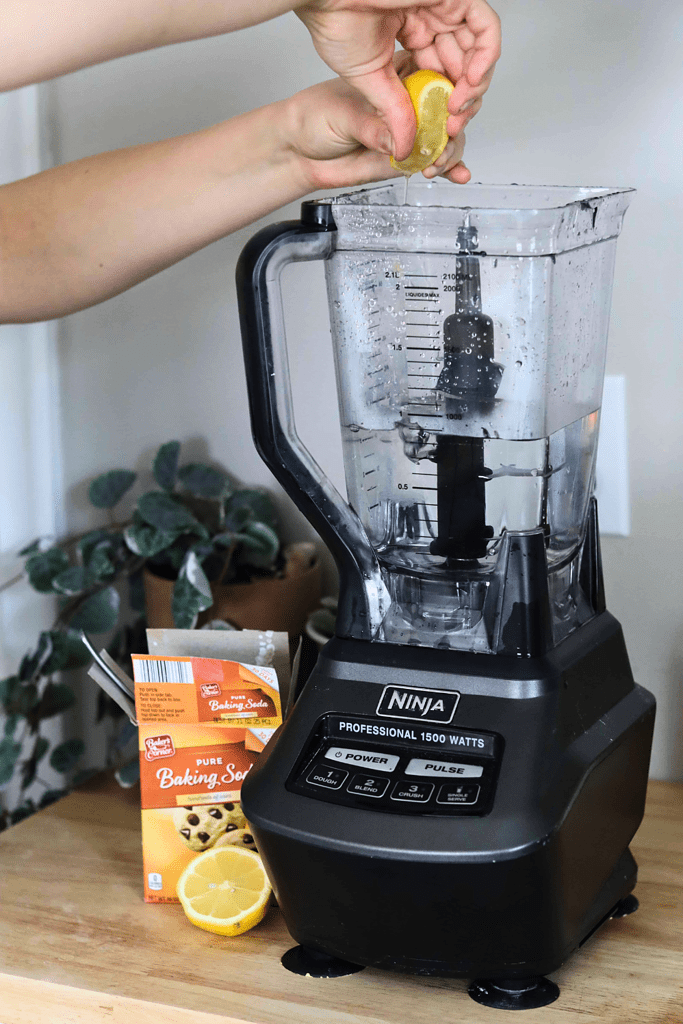
Squeeze lemon juice (about one lemon’s worth), 2-3 T of baking soda, and some water into the jar of the blender and run on the highest speed for 30 seconds. Remove from the base and scrub it with a non-scratching sponge or cloth. Rinse it with clean, running water and lay it to dry.
Option 2:
Create a mixture of warm water, 3/4 cup white vinegar, and 1/4 cup baking soda. Add to the blender jar and blend on the highest speed possible for 30 seconds. Rinse it with clean running water and lay it to dry.
Option 3:
This method is the most time-consuming, but most of the work is being done for you while you wait. Add 1-2 T of powdered dishwasher detergent to the blender jar and dissolve it in hot water. Fill until almost full. Allow it to soak for 1 hour, then scrub it with a sponge or soft cloth. Rinse and lay it out to dry.
Choose the best method for you!
How to Clean a Ninja Blender that Smells:
Lingering odors in a Ninja blender usually come from trapped food particles or strongly scented ingredients like garlic and onion. A deeper clean with deodorizing ingredients will refresh the pitcher and lid without damaging them.
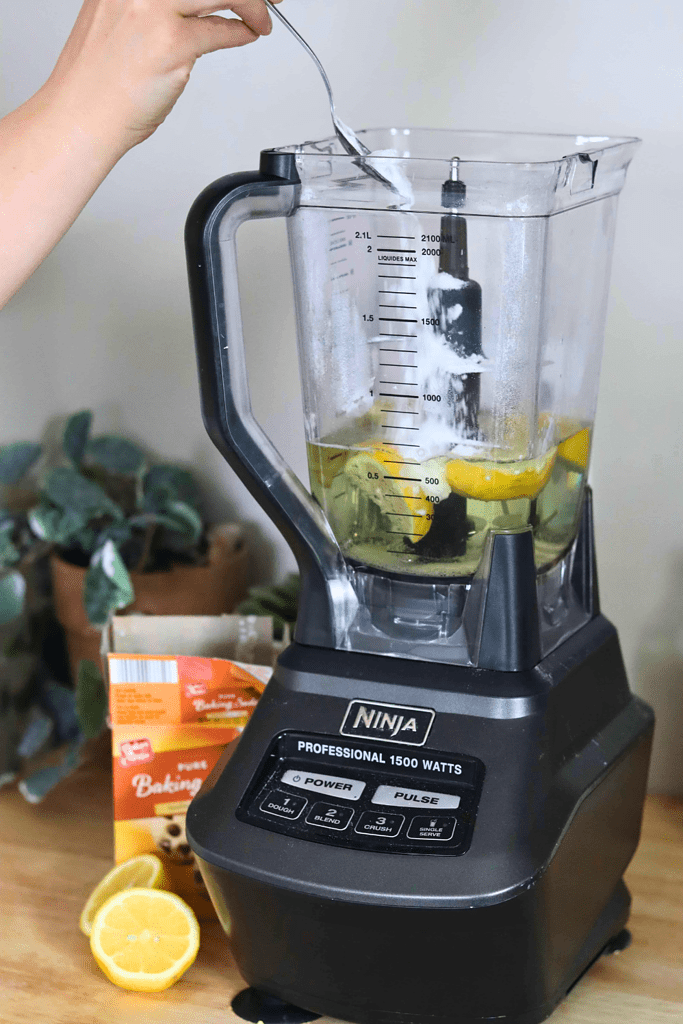
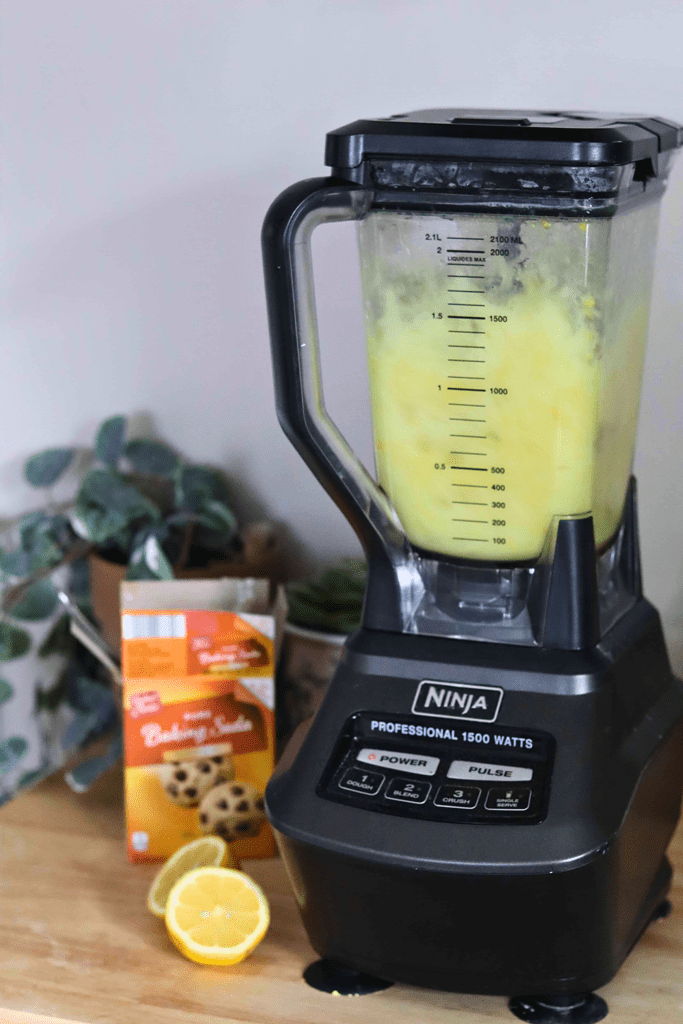
First, add a chopped lemon, a spoonful of baking soda (a natural scent absorber), and hot water to the pitcher. Put on the lid and blend for 1 minute. Remove the pitcher from the power base, rinse it with clean, running water, and let it air dry. Your blender jar will smell zippy and fresh!
How to Clean a Cloudy Ninja Blender:
Hard water deposits and tiny scratches can make a Ninja blender pitcher look cloudy over time. A gentle descaling treatment usually restores clarity without damaging the plastic.
Option 1:
Create a baking soda paste with baking soda and water. You want your paste to be thick enough that it will stick to the inside of the blender, but thin enough to spread. Smear a thick layer of the paste throughout the blender and allow it to sit for 20 minutes.
After, thoroughly scrub the inside of the blender container. Add 1 cup of vinegar and enjoy the mini reaction. Leave to sit overnight. The acidic nature of the vinegar will break down the mineral deposits and grime in the blender.
The following morning, rinse the blender with clean running water, scrub with a sponge, and warm soapy water. Rinse and lay out to dry.
Option 2:
Pour 2 T of powdered dishwasher detergent and fill the Ninja Blender jar almost full with hot water. Mix to dissolve the detergent and leave to soak for at least 2 hours.
Dump most of the liquid and scrub with a soft sponge. Rinse thoroughly and lay out to dry.
Option 3:
If the previous methods don’t do the trick, many swear by the magic eraser or melamine foam. Wet the magic eraser when ready to use and scrub the inside of the blender, rinse with clean water, and let air dry.
How to Clean Specific Ninja Blender Parts:
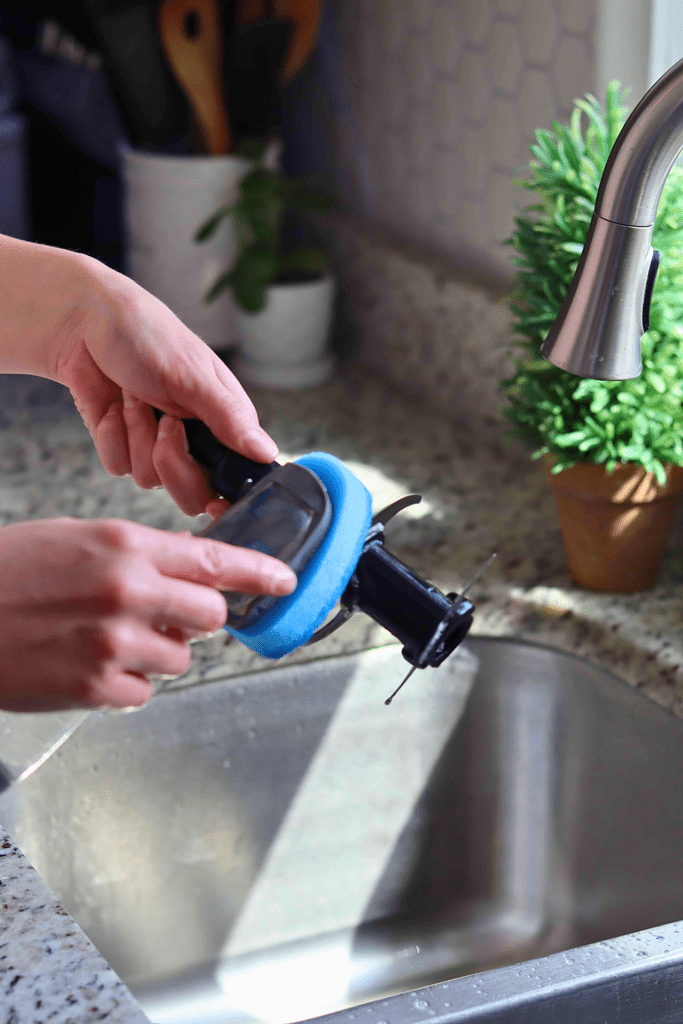
Ninja Blender Blades:
If your blender has a detachable blade assembly, you can clean it by soaking it in soapy water for 10 minutes. This will loosen any caked-on ingredients. Then, with a soft sponge with a handle, scrub the blades with warm, soapy water. Rinse well and lay on a drying mat to air dry.
Ninja Blender Gasket Seal:
If you are unaware of what a gasket seal is, it is the rubber seal that is hidden in the lid of your Ninja Blender. This rubber seal has the mighty job of preventing liquids from escaping the blender while it is in use.
This part of the blender is often overlooked by many and can be a high-traffic area for bacterial growth, so you’ll want to include this in your regular cleaning routine.
To remove this piece, you will need a fork or a small utensil to pry it out of the blender’s lid. Once removed, remove any bacteria growth by cleaning it with soap and hot water.
Allow it to air dry before reinstalling the clean Ninja Blender rubber gasket back in the lid.
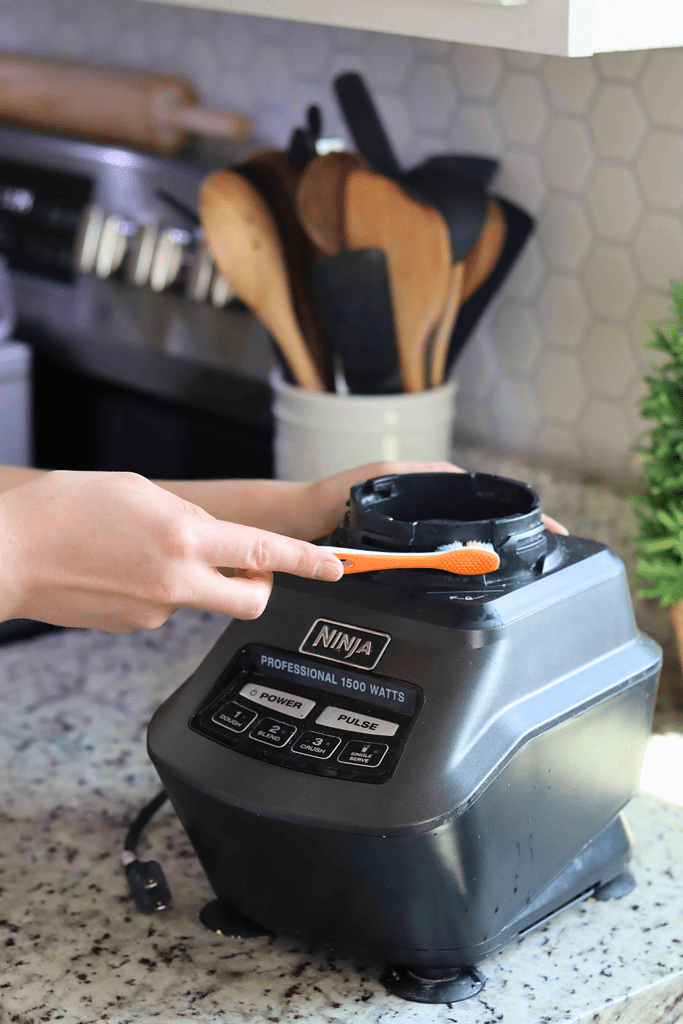
Ninja Blender Base:
Use an all-purpose cleaner or some warm, soapy water and a clean cloth. Scrub the damp cloth on the base of your Ninja Blender to wipe away any left-behind ingredients.
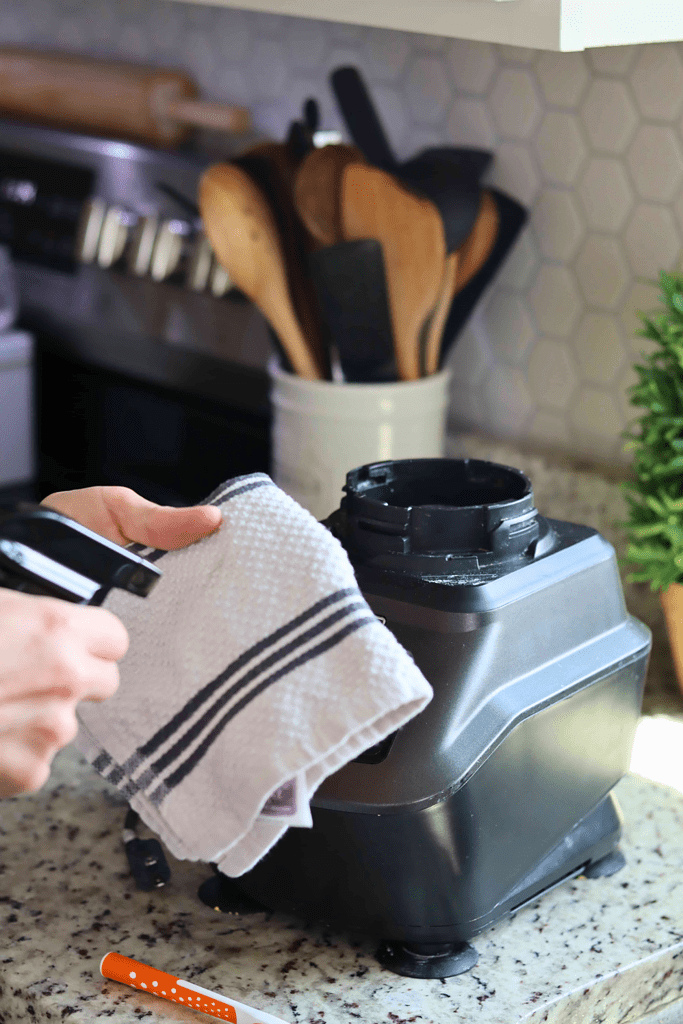
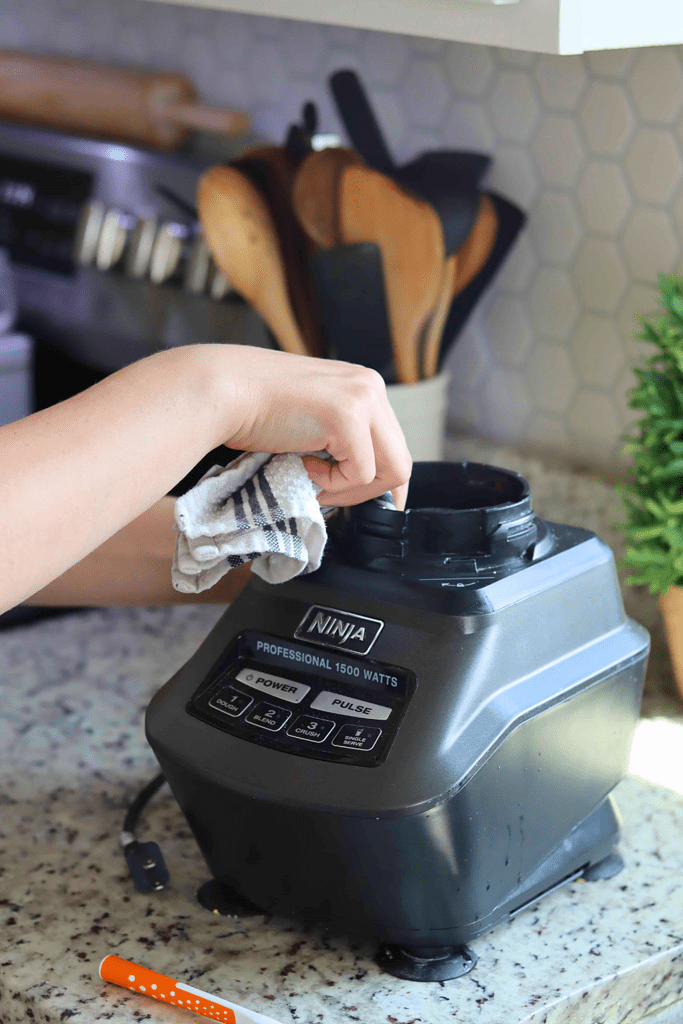
If the food particles are a bit stubborn and caked on, use a cleaning toothbrush and a little elbow grease to release them. Buff it dry with a cloth.

Safety Tips:
- Always unplug the blender before cleaning or taking it apart to avoid accidental activation.
- Never submerge or rinse the motor base; wipe it with a slightly damp cloth and keep water away from buttons and vents.
- Handle blades very carefully by the plastic hub or dull edges, and avoid leaving them loose in a soapy sink where you cannot see them.
- Use only mild dish soap and non‑abrasive sponges or brushes on the pitcher, lid, and gaskets to prevent scratching and damage.
- Let all parts dry completely before reassembling to reduce the risk of mold, odors, or trapped moisture around the seals.
- Replace any cracked, warped, or heavily damaged parts instead of continuing to use them, especially blades and pitchers.
For More Guidance:
FAQs
Can I put my Ninja blender in the dishwasher?
Many Ninja pitchers, lids, and blade assemblies are top‑rack dishwasher safe, but the motor base is never dishwasher safe. Always check your specific model’s manual and, when uncertain, hand‑wash to protect the plastic and seals.
Can Ninja blenders handle ice and frozen fruit?
Most full‑size Ninja models are designed to crush ice and blend frozen fruit when some liquid is added. Avoid running the blender with mostly dry, hard ingredients, because that can strain the motor and dull the blades more quickly.
Is it safe to blend hot liquids in a Ninja blender?
Some larger pitchers can handle warm (not boiling) liquids up to a marked fill line, but sealed single‑serve cups generally should not be used with hot ingredients. Let soups or sauces cool slightly and never overfill, since steam expansion can force the lid off.
How often should I deep‑clean my Ninja blender?
A quick rinse or self‑clean after every use keeps residue from building up, but a deeper clean is helpful every week or so if you blend daily. Deep cleaning includes taking apart the lid, checking gaskets, and addressing stains, odors, or cloudiness.
What should I do if my Ninja blender will not start?
First, make sure it is plugged in and that all parts, including the pitcher and lid, are fully locked into place, since most models will not run unless everything is aligned. If the unit still will not start, unplug it, let the motor cool, and consult the manual or customer support for model‑specific troubleshooting.
More Like This: